
 UPDATE 2: WhatsApp has finally bowed to pressure and created a web interface for desktop usage.
UPDATE: We’ve been blown away recently by new-instant-messenger-on-the-block, Telegram. Unlike WhatsApp, it’s free forever. It’s more secure than WhatsApp, it has desktop apps, chats are synchronised across all devices (at least the normal chats not marked as “secret” anyway) and best of all, it’s not owned by Facebook. Find out more here.
![]() Wow, so this is a popular search on Google! And sadly, most of the results you find are riddled with either viruses, bad advice or broken English.
Wow, so this is a popular search on Google! And sadly, most of the results you find are riddled with either viruses, bad advice or broken English.
As you almost certainly know if you’ve found this page, WhatsApp is a massively popular (over 7 million downloads on Android alone) app for instant messaging. Its distinguishing feature is that it relies on a user’s mobile phone number, rather than any dedicated username/password combination. The idea is that you use it as a drop-in replacement for SMS and MMS messaging. You can also use it instead of your favourite instant messaging client, on the basis that almost everyone has a mobile phone number these days.
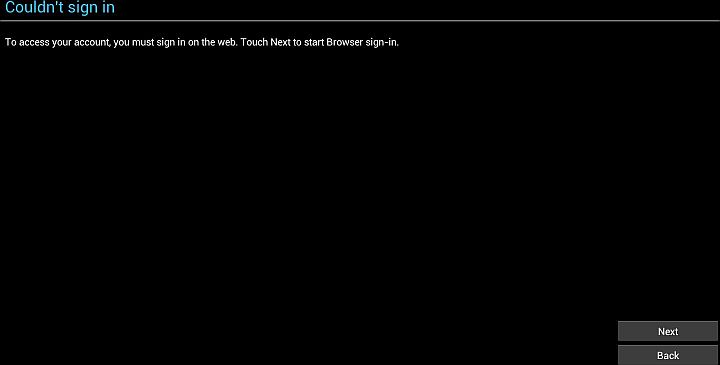
Linking the product to a mobile phone number is also one of this product’s weaknesses – you may want to use WhatsApp from your desktop PC or laptop, but WhatsApp doesn’t provide PC (or Mac) software. The good news is that it can be done! The bad news is this process depends on you having a Google account – sorry, Apple/iOS users. The REALLY bad news is that you can’t link a single mobile phone number on two different devices. Because WhatsApp associates to a mobile phone number, this means that you can’t synchronise your chats across more than one device. If you try to link two different devices to the same mobile number, one of the devices will disconnect and you’ll be greeted with the following message:
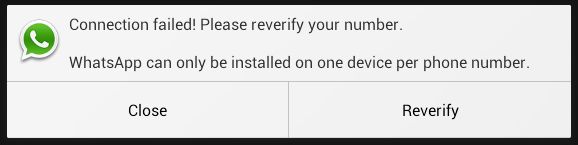
So this piece of information can’t be stressed enough: you can’t run WhatsApp in two places simultaneously using the same mobile phone number. If you want the convenience of being able to input messages via your computer, you need to look at some form of remote control program for your mobile device (VNC, for example). That’s beyond the scope of this How-to.
The remainder of this guide assumes you’re going to be associating your mobile phone number to WhatsApp and using it only on your PC. If that’s what you want to do – good news! It’s entirely possible.
BlueStacks Android Emulator
The easiest way to get started is to install the BlueStacks Android emulator. BlueStacks is in beta at the moment and free to use. We imagine this will change at some point in the future. There will still be other possibilities, but one of the beauties of BlueStacks is its simplicity.
It’s worth mentioning at this point that whenever you’re going to emulate one operating system on another, you’re well advised to ensure your computer is up to the job. I’m using an Acer Veriton M6610G which is more than up to the job. (It has since been replaced with the M6630G series – very competent and expandable PCs.)
Visit the BlueStacks web site and download and install the emulator. We’re doing this on a Windows PC, but I suspect it would also work on a Mac. (Any Mac users out there that have an Android phone? I suppose it could happen…)
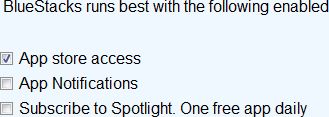
During the installation, you’ll be presented with a set of three options – App store access, App Notifications, and Spotlight. I’d suggest you only select the first of these. The installation can take a fair few minutes.
If you’re prompted to update your graphics drivers, you’ll need to allow this, for BlueStacks to run. As always, make sure System Restore is working, in case something goes wrong when installing the drivers.
Set up BlueStacks
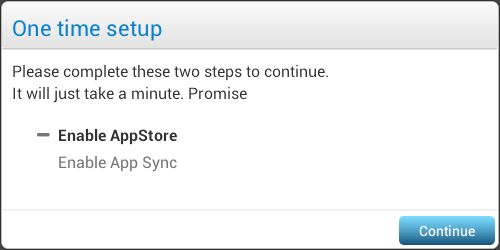
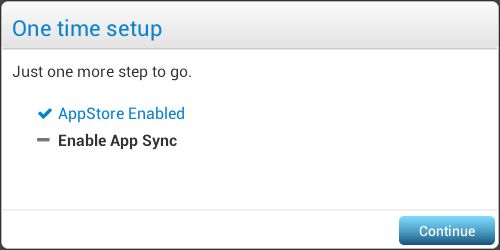
When you first load BlueStacks, you’ll be taken though a setup wizard. Click “Continue”:
You need to connect BlueStacks to a Google Account for two reasons: first, to download the app from the Google Play Store. Secondly, so you have access to your address book. It’s best to link BlueStacks to an existing Google account, so you have the benefit of your Google address book. Choose “Existing”:

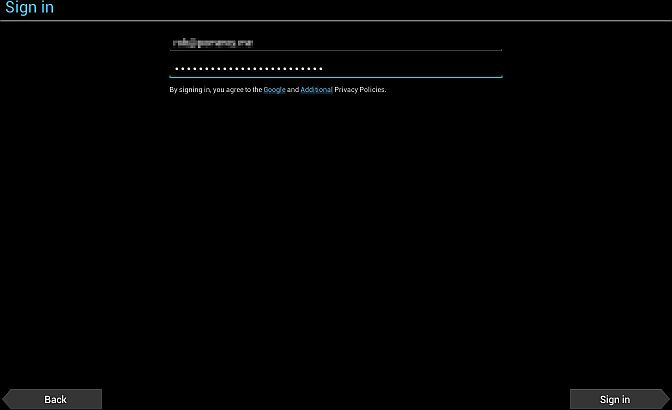
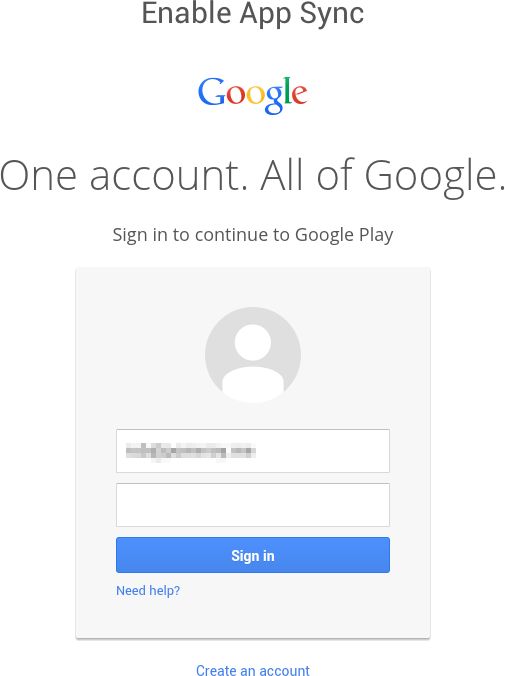
Enter your Google credentials and click “Sign in”:
If, like me, you use Google’s two-factor authentication, you’ll now be taken through a web-based login process (still within the BlueStacks emulator). Click “Next”:
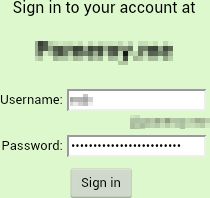
Re-enter your credentials and click “Sign in”:
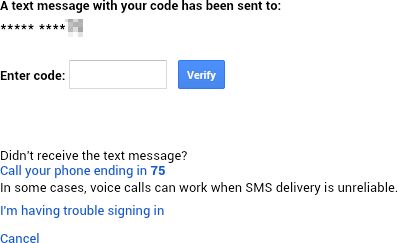
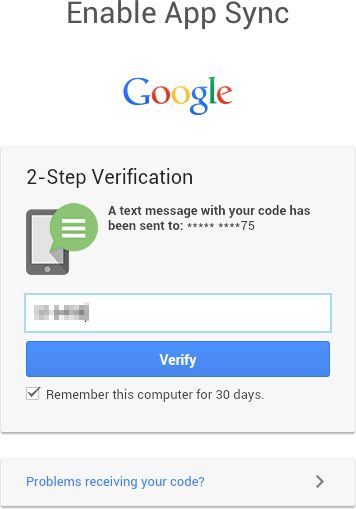
Again, this is only if you’ve enabled two-factor authentication (which you should, by the way). A code will be sent to your mobile phone number. Enter it here and click “Verify”:
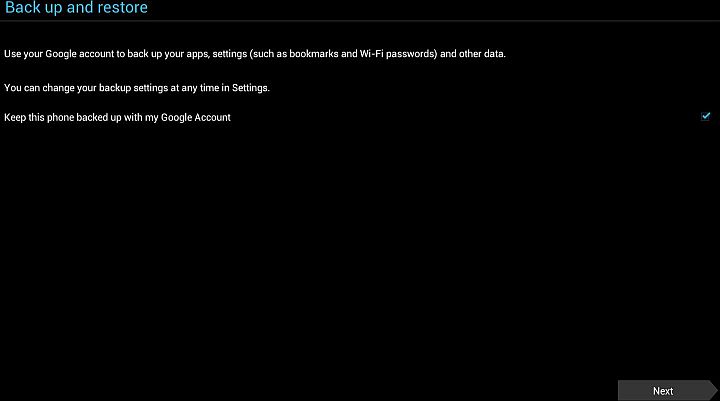
The “Back up and restore” section – what you choose here is up to you. Click “Next”:
You’ll be taken back to the BlueStacks wizard. Click “Continue”:
Re-enter your Google account details (yawn):
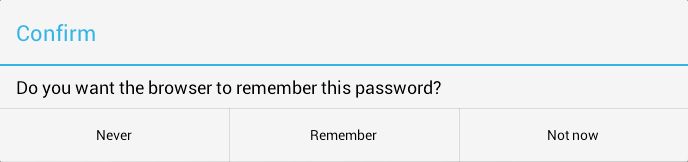
Do you want your password to be remembered? Your choice:
Again, leap through the two-step verification hoop if it applies to you:
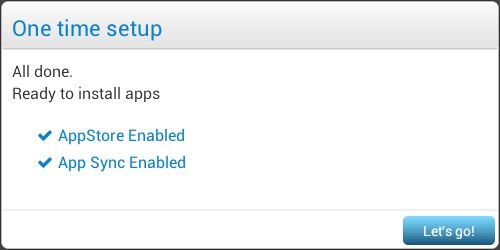
The Google Play store will now be available. Click “Let’s go!”:
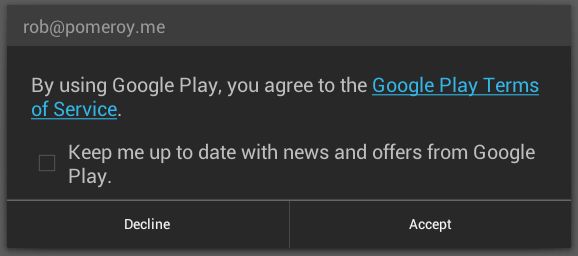
Finally, accept the Terms of Service. I suggest leaving the “opt-in” unchecked:
Installing WhatsApp
Immediately after setting up BlueStacks, you’ll be taken to the Play Store:

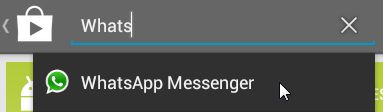
From there, search for WhatsApp:
Click “Install”:

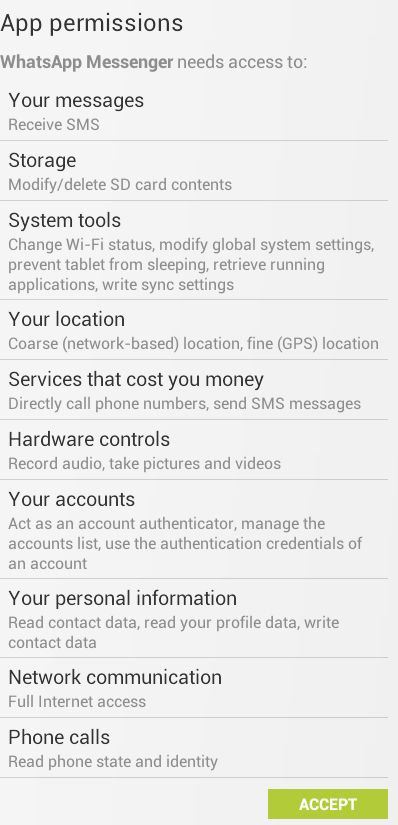
Accept the permissions:
WhatsApp will now install:

Once installed, click “Open”:

Agree to the WhatsApp terms:

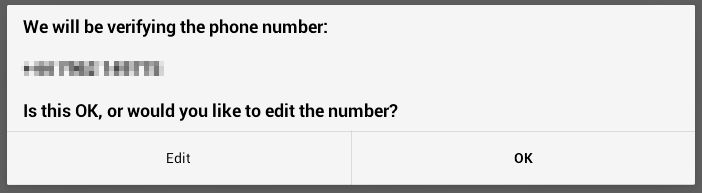
Enter the mobile number that you’re going to link to this installation of WhatsApp (remember, one mobile phone number per device) and click “OK”:

Double-check and click “OK”:
WhatsApp tries to send and detect an SMS. The SMS message will go to your phone of course, not BlueStacks, so this detection will fail (you’ll need to wait for this):

Instead, click “Call me” and be ready to enter the verification code:

An automated message will tell you the code you need to enter into WhatsApp on BlueStacks:

Verify your profile:

WhatsApp will spend some time initialising:

Once it’s done, the “Continue” button appears. Click it:
![]()
That’s it; you’re in. From now on, you can run WhatsApp from the Home screen:

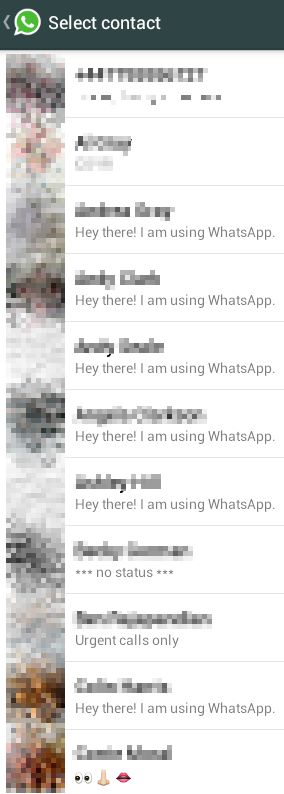
You should see your list of contacts from your Google address book:
If you have any chat history from using WhatsApp on a different device, this will not be pulled across to BlueStacks – history is not saved on WhatsApps’ servers.
So there we are; it has its limitations, but if you’re happy to use WhatsApp on your computer instead of your phone or tablet, this is probably the easiest way to do it. Having said that, I will personally carry on using WhatsApp on my Galaxy Note phone or tablet, both of which I’m more likely to have with me than my computer!
when using whatsapp on a PC does it each time you use it charge a text to my phone ?
Messages to other WhatsApp users do not result in SMS charges. Messages to non-WhatsApp users do.
I will use all my devices when or where ever I will be
We would suggest using Telegram instead of WhatsApp then. Telegram can sync multiple devices.
this is useless, the whole idea is to find a pc based application that can synchronize with whatsapp on your phone, not one that replaces it completely.
Agreed it’s frustrating. Hopefully it’s clear from our article that there is currently no way to run both simultaneously. Blame Whatsapp for that one.
Or MessageMe, which has a Android app, iOS app, and desktop web app, all synced. http://www.messageme.com
I prefer Telegram.
can i use in both my windows phone and my pc?
No. One or the other – never both.
What happens with the WhatsApp groups? Do they appear on pc?
Everything is exactly the same as on a real mobile device.