How-to: Overcome “critical temperature” problem with CloneZilla

processor fire
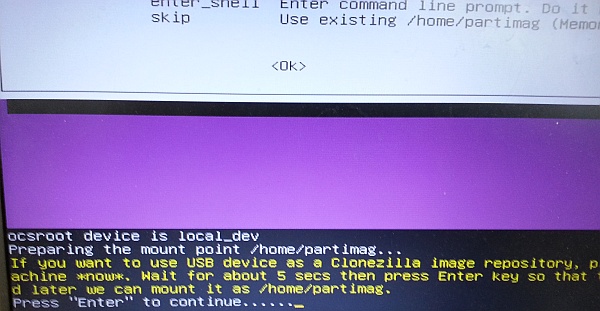
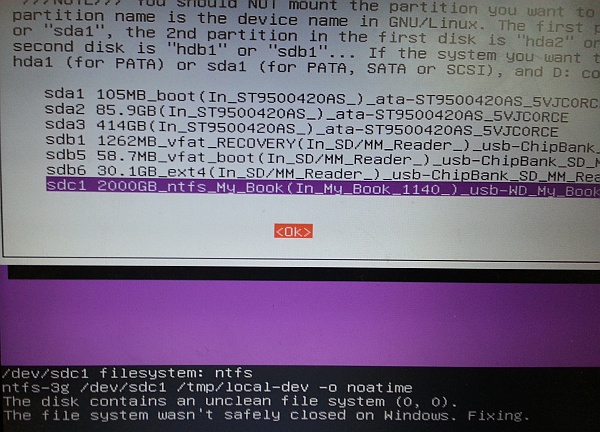
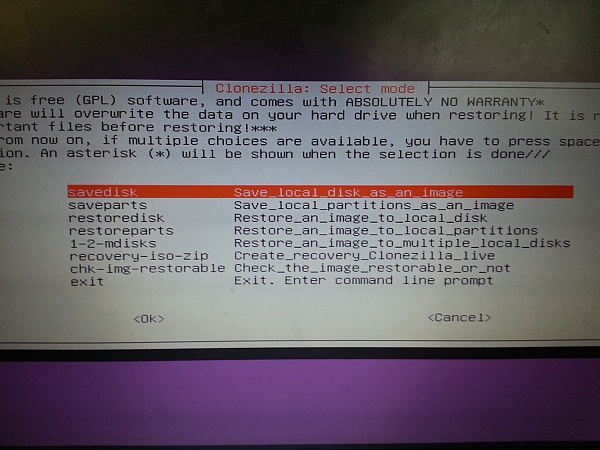
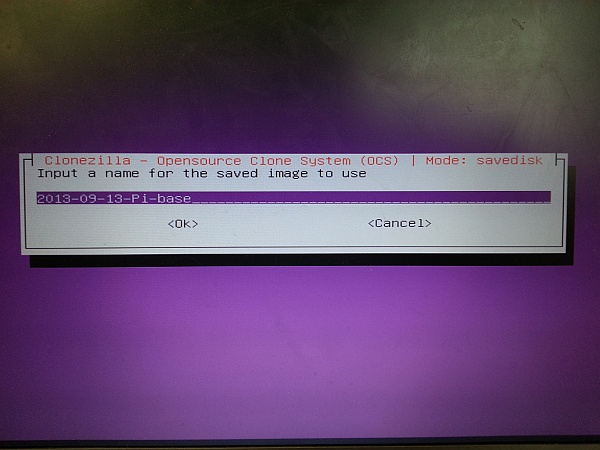
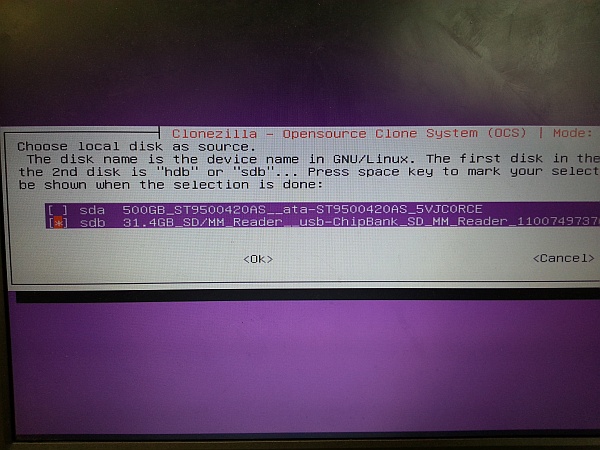
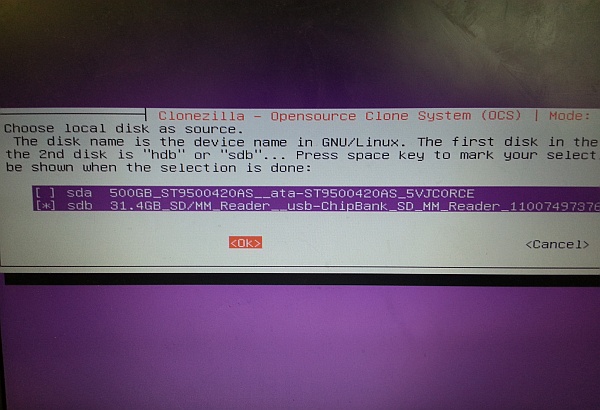
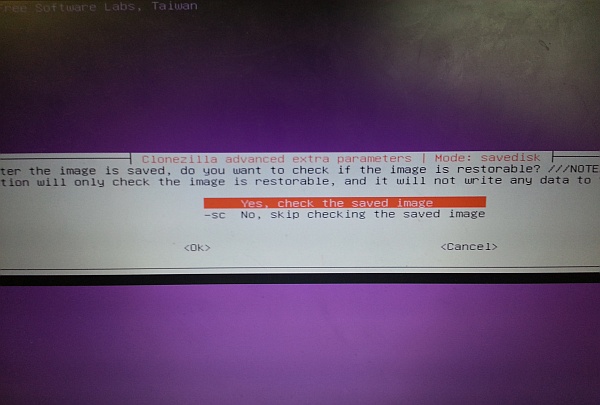
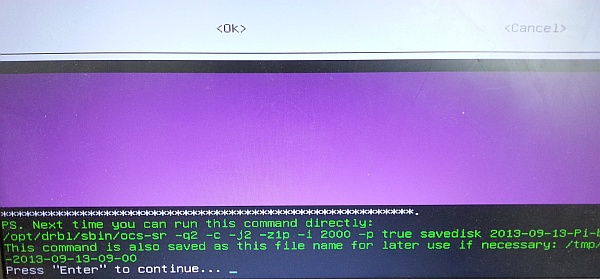
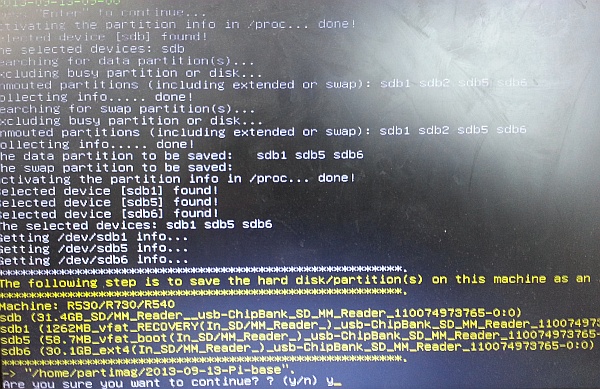
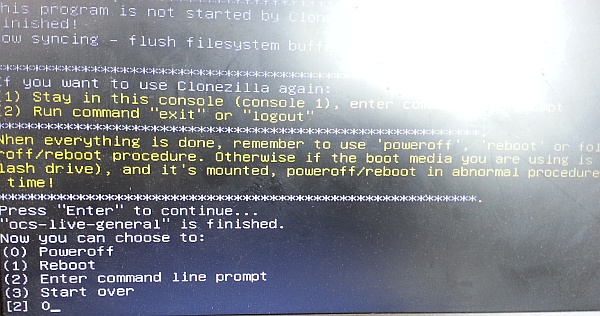
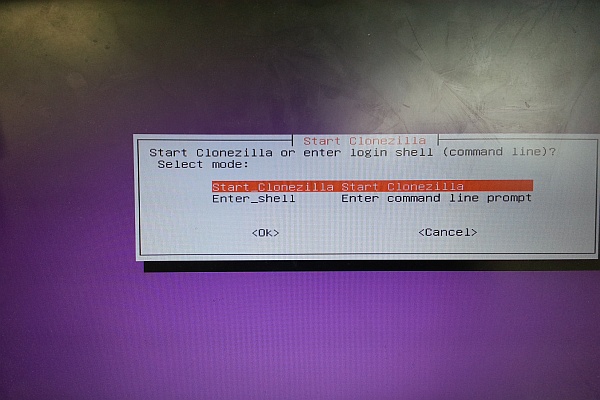
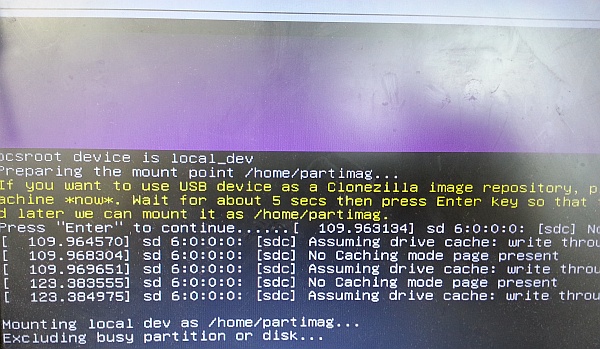
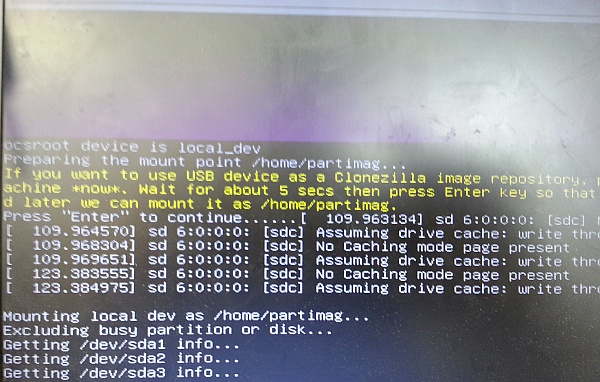
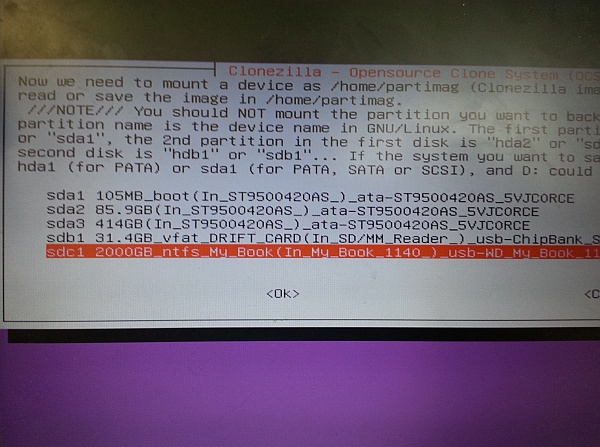
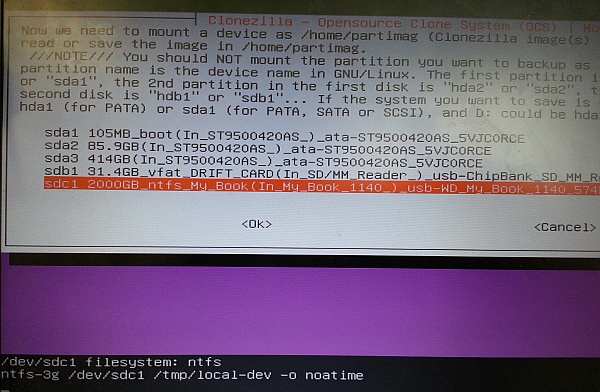
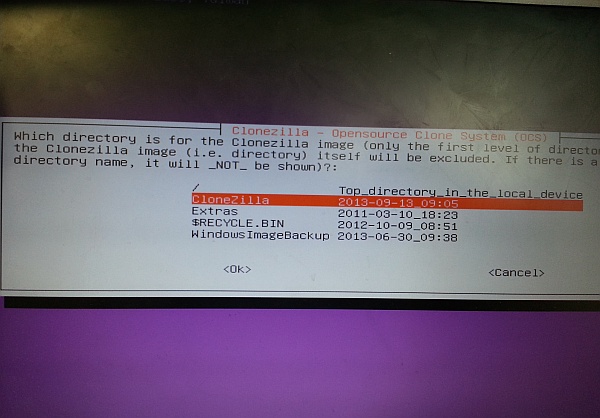
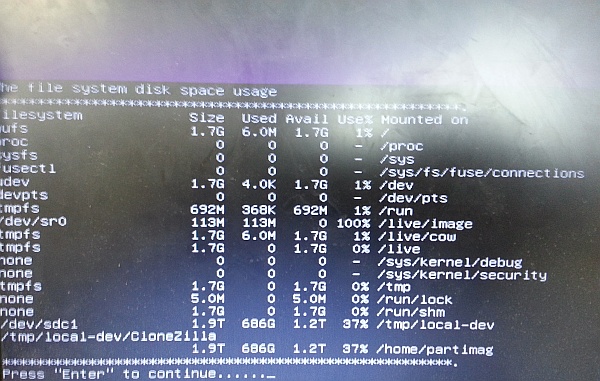
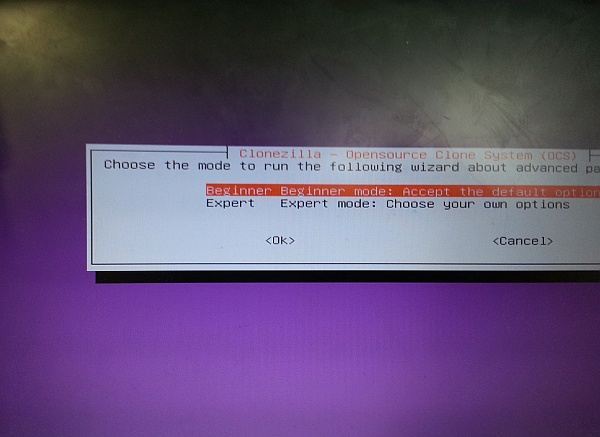
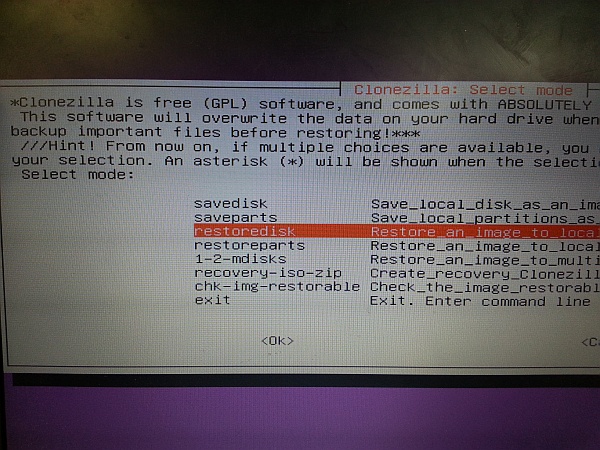
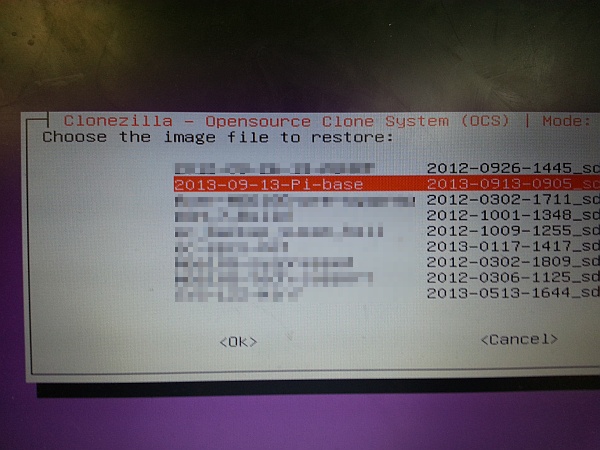
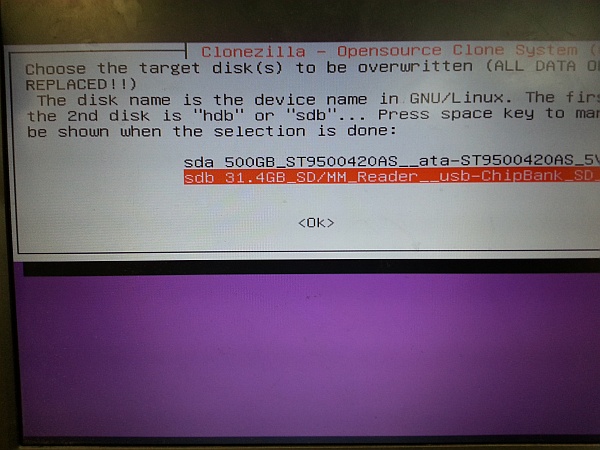
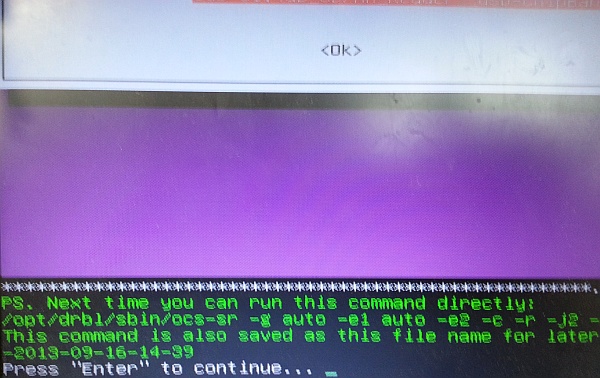
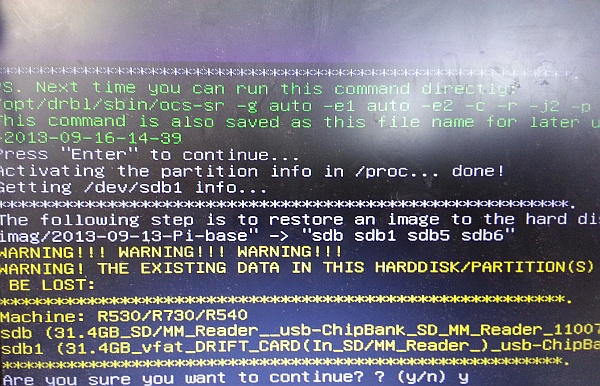
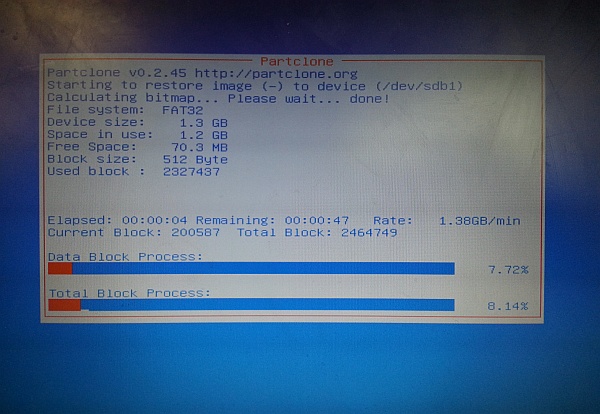
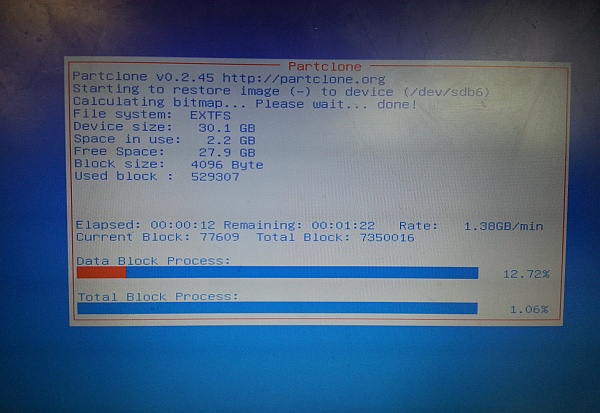
In case you don’t know, Clonezilla is an excellent (and free) disk/partition imaging tool. It’s essentially a customised Linux distribution. You boot from a CD and then follow a text-mode wizard to backup or restore images of hard drives or other storage devices. You can see the process in action in my Raspberry Pi SD card backup/restore article.

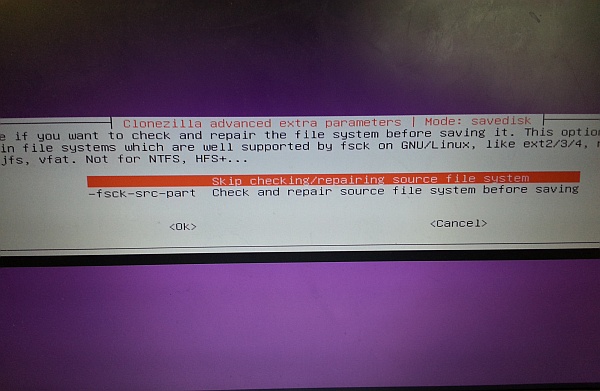
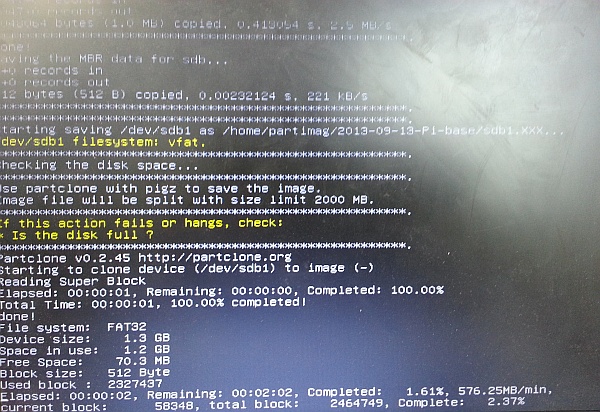
The process can be quite intensive for hard drives and processors. One of the things Clonezilla does is compresses the image of the drive to save space wherever you’re storing the image. Compressing a 2GB file is a big job for an older processor. I was finding with one of my older laptops that the processor was working so hard, it caused the temperature to rise at a point where it triggered a Linux “panic”. The system immediately halted with an error message about “critical temperature”, half way through making an image. So of course that image is not usable.

What’s supposed to happen in normal usage is that when the temperature rises dangerously, the operating system slows down the processor. This allows the machine to cool down (at the obvious expense of a performance penalty). I’m not sure if this is fixed in later versions of Clonezilla – there’s some talk of it in the mailing lists. I’m indebted to those mailing lists for some parts of workaround that follows.

One thing you can try is using the i486 version of Clonezilla. This assumes older processor hardware and so (I suspect) doesn’t make full use of your processor’s theoretical potential. Just select i486 architecture from the download page for the latest stable version.

As a belt-and-braces approach (and this is the method I’ve adopted), you can also issue commands that tell the Linux kernel to run the processor at a particular frequency. In my case, I’m telling an Intel Core i3-330M to run at 1.6GHz instead of the usual 2.13GHz.

You can do this as follows:

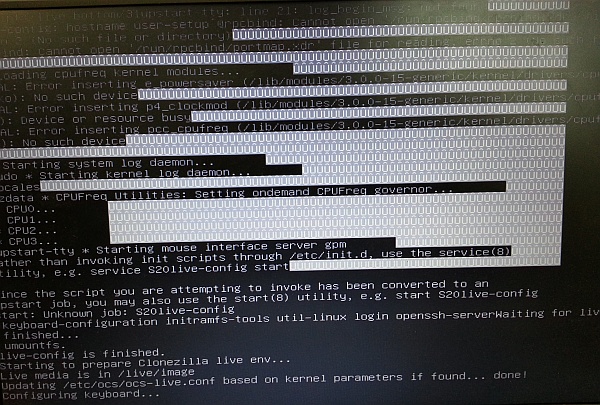
  1. Once you’re in the Clonezilla wizard, press Alt-F2, to access a login shell.
  2. Issue the command cpufreq-info. In my case, I saw the following, as well as some other information:
    analyzing CPU 0:
      driver: acpi-cpufreq
      CPUs which run at the same hardware frequency: 0
      CPUs which need to have their frequency coordinated by software: 0
      maximum transition latency: 10.0 us.
      hardware limits: 933 MHz - 2.13 GHz
      available frequency steps: 2.13 GHz, 2.00 GHz, 1.87 GHz, 1.73 GHz, 1.60 GHz, 1.47GHz, 1.33GHz, 1.20 GHz, 1.07 GHz, 933 MHz
    ...

    You may see more than one CPU listed – mine shows just the one (single CPU, dual core). Most importantly, this lists the frequencies to which you can set your processor clock.
  3. Pick a frequency from the list that’s lower than the maximum. E.g., if the list shows that the processor can run at a lower speed of 1.60 GHz, set the clock speed as follows:
    sudo cpufreq-set -c 0 -f 1.60GHz
    The -c 0 parameter refers to the CPU number, starting from 0. Repeat the command, changing this number, for each CPU.
  4. Press Alt-F1 to return to the Clonezilla wizard and continue with the cloning process.

This approach sets the clock speed just for this particular session, so normal service will be resumed upon reboot.

If this all sounds like too much hard work, you could try one of the good commercial solutions instead, such as Norton Ghost or Acronis True Image.

Burning processor image copyright © mhamzahkhan, licensed under Creative Commons. Used with permission.

How-to: Raspberry Pi tutorial part 2: SD card backup/restore

[easyreview title=”Complexity rating” icon=”geek” cat1title=”Level of experience required, to follow this how-to.” cat1detail=”This is wizard-driven. Very simple. You’ll need to be able to burn a CD, nothing more taxing than that.” cat1rating=”1″ overall=”false”]

Contents

In my last Raspberry Pi tutorial (the first in this series), I mentioned that we can take a snapshot of the Raspberry Pi’s SD card at any time. This will give us a “restore point”, so we can skip a few installation steps if we want to wipe the Pi and start again. Quite a few Raspberry Pi projects will require that we start with a working installation of Raspbian so that’s the snapshot I’m going to take. You can of course take a snapshot whenever you like. If you’ve honed and polished your Rasbmc box, it would make sense to take a snapshot in case it becomes horribly corrupted at some point or melts.

There are many different ways of skinning this cat (or squashing this ‘berry), but my preferred method is the tried and tested customised Linux distribution, Clonezilla. I’ve been using CloneZilla personally and professionally for years and persuaded many colleagues of its merits (besides the obvious, that it’s free). It can be a bit intimidating with all the options it presents. If this is your first experience of CloneZilla, following this tutorial will also give you a gentle introduction to this powerful toolkit.

What you’ll need

  • A copy of Clonezilla, burned to disc.
  • A computer (desktop or laptop) configured to boot from CD.
  • An external hard drive, with enough space to store the image (you’ll only need a few gigabytes spare).
  • A USB reader for your SD card. You can buy one here.

Some of your Clonezilla kit

Take a snapshot

  1. Power down your Pi, with the command halt, shutdown or poweroff.
  2. Boot your PC from the Clonezilla disc. You will arrive at a simple menu/boot screen. It will boot automatically within 30 seconds – you can hit enter at any time, to proceed.
    Snapshot step 01
  3. You’ll be treated to rows and rows of gibberish while Clonezilla boots up.
    Snapshot step 02
  4. Choose your language and keyboard setting.
    Snapshot step 03
  5. Hit enter to start Clonezilla (yeah, you thought it had already started, didn’t you).
    Snapshot step 04
  6. Insert your Raspberry Pi’s card, in its reader.
    Snapshot step 05
  7. Choose “local_dev”.
    Snapshot step 06
  8. A screen prompt will tell you to insert your external hard drive.
    Snapshot step 07
  9. Insert the external drive and then wait for 5 seconds or so.
    Snapshot step 08
  10. A few lines will indicate that Clonezilla has registered the presence of the drive.
    Snapshot step 09
  11. Hit enter and Clonezilla will mount the various partitions now available to it.
    Snapshot step 10
  12. Select the external hard drive as the drive to which we’re copying the snapshot (in my case, the largest partition on the list).
    Snapshot step 11
  13. Hit enter. If the drive wasn’t cleanly dismounted before (oopsie), Clonezilla will check and fix as required.
    Snapshot step 12
  14. Choose a directory to store the SD card image and hit enter.
    Snapshot step 13
  15. Clonezilla will spit some more gibberish at you. Ignore it and hit enter.
    Snapshot step 14
  16. Though it makes me feel a little silly, choose Beginner mode.
    Snapshot step 15
  17. Choose “savedisk”.
    Snapshot step 16
  18. Give your disk image a meaningful name.
    Snapshot step 17
  19. Select the SD card, to save the image. You use cursor keys and the space bar here.
    Snapshot step 18
  20. Select Ok to continue.
    Snapshot step 19
  21. If you’re confident your SD card is in good shape, you can skip checking it.
    Snapshot step 20
  22. I’d recommend checking the saved image though. It doesn’t take long and gives you peace of mind that you should be able to restore from this image.
    Snapshot step 21
  23. Clonezilla will helpfully point out that you can do all this from the command line (yeah, right).
    Snapshot step 22
  24. Press Y and enter to continue.
    Snapshot step 23
  25. Shouldn’t take too long.
    Snapshot step 24
  26. When it’s all done, it’ll report progress. Press enter.
    Snapshot step 25
  27. Enter 0 to power off (or whatever you prefer) followed by enter.
    Snapshot step 26
  28. Clonezilla will eject the disc. Hit enter to carry on.
    Snapshot step 27

You should now have an image (consisting of several files) on your external hard drive, which you can later use for restoration. Job done.

Restore a snapshot

In this scenario, we’re starting with everything powered off, ready to begin.

  1. Boot your PC from the Clonezilla disc. You will arrive at a simple menu/boot screen. It will boot automatically within 30 seconds – you can hit enter at any time, to proceed.
    Restore step 01
  2. I’ve got to say, this screen full of strange foreign characters is pretty unnerving. But don’t worry. It’ll pass.
    Restore step 02
  3. Choose your language.
    Restore step 03
  4. I’ve never found I’ve had keyboard problems, even though I use a UK keyboard…
    Restore step 04
  5. Hit enter to begin.
    Restore step 05
  6. Insert the SD card/reader. Some nonsense will appear on screen. Don’t worry – just hit enter.
    Restore step 06
  7. Select “local_dev” and hit enter.
    Restore step 07
  8. Insert your external hard drive and wait 5 seconds or so for it to be recognised.
    Restore step 08
  9. It’ll detect the drive – hit enter.
    Restore step 09
  10. Next, it will mount your various partitions.
    Restore step 10
  11. You may have a few…
    Restore step 11
  12. Choose the external drive from the list then hit enter.
    Restore step 12
  13. Clonezilla will check the drive.
    Restore step 13
  14. Choose the directory where your saved image is stored and hit enter.
    Restore step 14
  15. Clonezilla will give you an overview of its file systems. You will be thrilled. Hit enter.
    Restore step 15
  16. Choose “Beginner”, no matter how patronised you may feel.
    Restore step 16
  17. Choose “restoredisk”.
    Restore step 17
  18. Select the previously saved image.
    Restore step 18
  19. Choose the SD card. Hit enter.
    Restore step 19
  20. Clonezilla reckons you really want to do this at the command line. Hit enter.
    Restore step 20
  21. This is a destructive operation and will wipe your SD card. Press Y then enter.
    Restore step 21
  22. Clonezilla doesn’t trust your judgment. Hit Y and enter again.
    Restore step 22
  23. There are two partitions to restore to this card. You’ll get a progress report for each restoration.
    Restore step 23
    Restore step 24
  24. Clonezilla will let you know once it’s done.
    Restore step 25
  25. Press enter to continue.
    Restore step 26
  26. Choose 1 to reboot (or whatever you prefer) then hit enter.
    Restore step 27
  27. Once the CD is ejected, you can also disconnect the SD card and hard drive. Hit enter.
    Restore step 28
  28. Witness the majesty of the Linux death rattle.
    Restore step 29

If all went well, you can now install this SD card back in your Pi, boot up and continue.