
[easyreview title=”Complexity rating” icon=”geek” cat1title=”Level of experience required, to follow this how-to.” cat1detail=”The latest rooting process is fairly straightforward, if you’re patient and pay attention to all the details.” cat1rating=”1″ overall=”false”]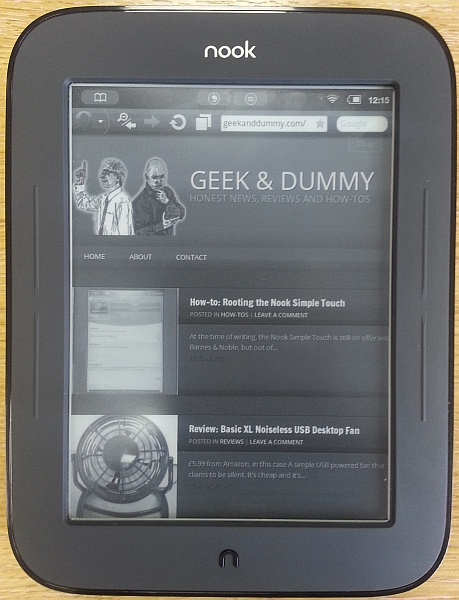 At the time of writing, the Nook Simple Touch
 is still on offer with Barnes & Noble, but out of stock. Which is to say, it’s dirt cheap, but ner ner ne ner nerrr, you can’t have one…
If you were one of the lucky ones to pick up the reduced-price tablet before stocks ran out, or if you already had one of these, you might be interested to know that you can unleash some of its secret powers through a process called “rooting”. The tablet is based on the well-known operating system Android and has hidden talents that Barnes & Noble would rather you didn’t find out about (like loading a Kindle app onto the tablet for example – gasp)!
When my Nook arrived, it was running firmware version 1.2.0. The Nook
has since been silently upgraded by Barnes & Noble to 1.2.1. I mention this because manufacturers tend not to like having their devices’ security bypassed (I’m looking at you, Apple). It’s entirely possible that one day B&N will release an upgrade that makes it significantly harder to root the device. Thankfully, with all versions up to 1.2.1, it’s still possible.
Before you proceed any further, there are a few points to highlight. I apologise for the extreme emphasis, but they’re such important points, I didn’t want you to overlook them.
- Rooting your Nook
will almost certainly void your warranty. Don’t rely on the possibility that you may be able to reverse the rooting process. By the time you need to call on the warranty, your device may be in such a state that you’re not able to “unroot”. Only root your device if you’re satisfied you can afford to lose the money you just spent on the Nook
- Rooting your Nook
- You must, repeat must go through the Barnes & Noble registration process before you attempt to root the NST
. Follow the wizards and make sure your Barnes & Noble store is working. Don’t skip this step.
- Nook Devs is a great site to visit if you want to know a lot more about this process.
Pre-requisites
You’ll need:
- A Class 6 (or greater) MicroSD
- A MicroSD card reader
- A computer. I have very few Macs in my I.T. estate, so I’m using a Windows PC for this.
- Win32DiskImager for writing the necessary image to the SD card.
- NookManager, the program that roots the Nook
Rooting
- This process wipes the MicroSD
- Download and unzip NookManager. This will leave you with a single file, NookManager.img.
- Download and unzip Win32DiskImager.
- Insert your MicroSD
- Run Win32DiskImager.exe. It will probably request elevated permissions. The interface might take a while to appear. Be patient. You’ll eventually see something like this:

- Use the folder icon to browse to the location of NookManager.img. Make sure the “Device” selection is pointing to your mounted MicroSD
- Make triply sure you’re writing to the correct device and click the “Write” button. Heed the warning and if you’re ready to proceed, click “Yes”. In a little less than 10 seconds, the writing process should be complete.
- Unmount the MicroSD
- Unlock your Nook
- Insert the MicroSD
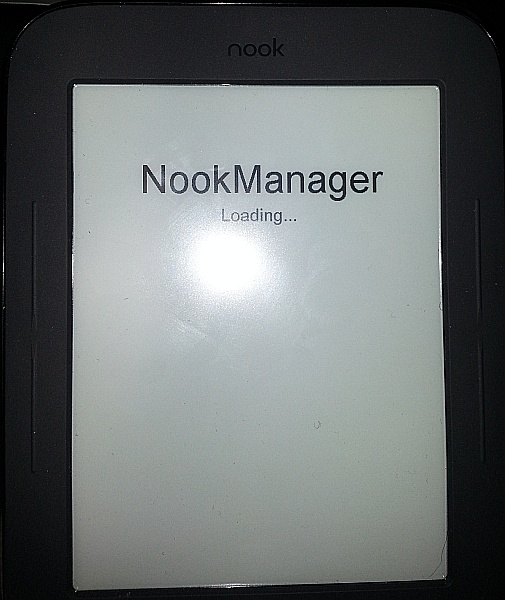
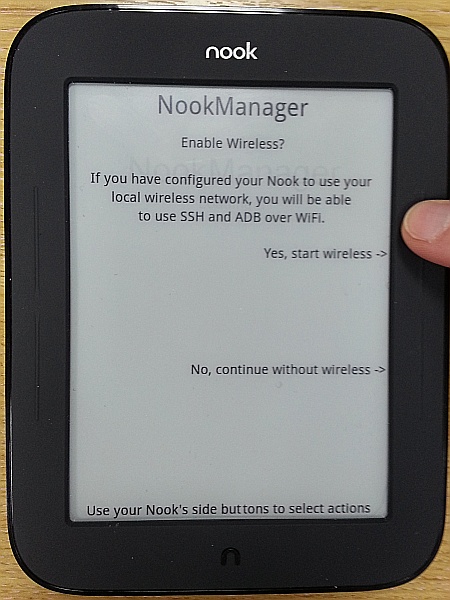
- You should see the NookManager loading screen:

- For this procedure, it really makes little difference whether or not you start with wireless capability. It’s quicker if you don’t:

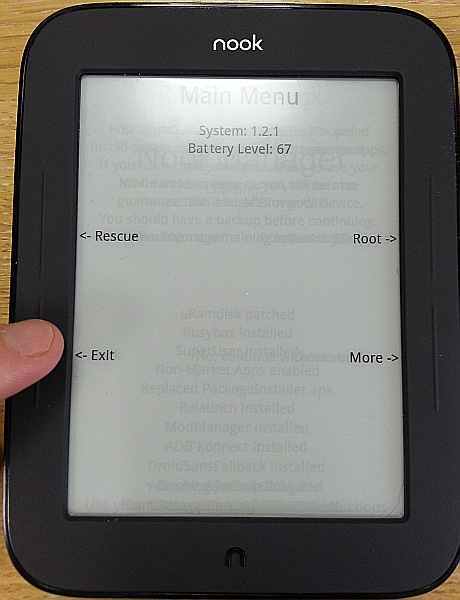
- When you arrive at the Main Menu, click the button next to “Root->”:
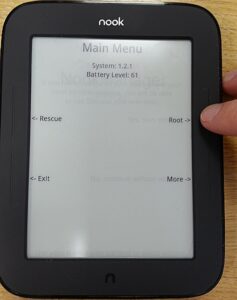
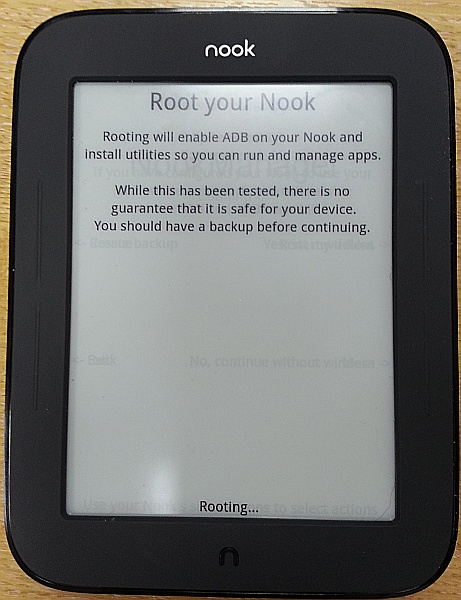
- Next, click the button next to “Root my device->”:

- If you’re an Olympic swimmer, you can hold your breath during the next bit:

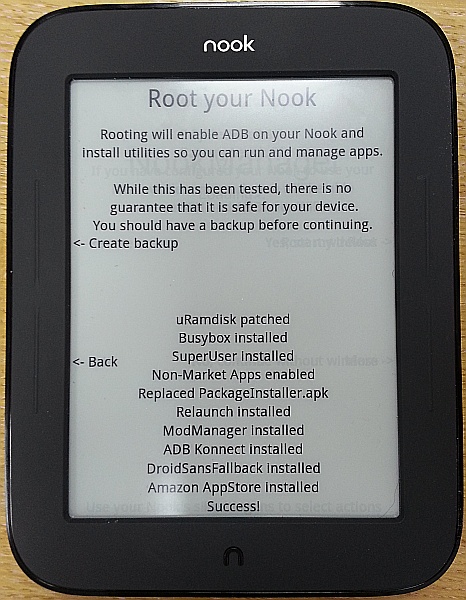
- There’s no progress bar. After a while, you should see the following (note the word “Success!” at the bottom):

- Click “Back” then “Exit”:

- Eject your MicroSD

- You can and should use NookManager to take a backup during this process. I didn’t, because I didn’t have a spare MicroSD
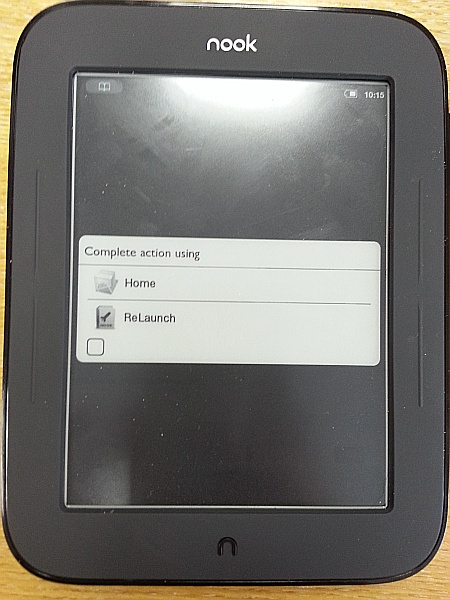
- When first unlocking, post-root, you’ll be presented with a slightly cryptic message: “Complete action using Home/ReLaunch”:
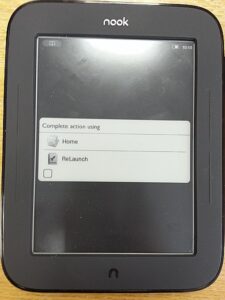
The checkbox, when selected, means “Always” do this. Just choose whichever you want at the time and leave the checkbox unticked. “Home” takes you to the Barnes & Noble interface. “ReLaunch” takes you to an Android interface designed for the Nook - Hang onto your NookManager MicroSD


If your first attempt at rooting didn’t work, don’t panic. You can safely repeat this process as many times as you like.
Installing Google Apps
If you still have your NookManager-prepared MicroSD card, you may wish to install some Google apps. This gives you Google Market (the earlier version of the Play Store), Gmail, Calendar and a few other bits and bobs.
- Download NGTAppsAttack. The version number you download should be the same as the version of NookManager you’re using.
- There are quite a few “gotchas” with this process. I strongly recommend you follow the instructions at the start of this thread at XDA Developers. In particular, note the comment, “Once your Nook has booted you need to follow the next steps without delay. You don’t need to rush but you need to move through them without interruption.”
Despite what I’ve read elsewhere about needing to use a Google account ending in “@gmail.com”. this worked fine with my Google Apps Domain account (which I use for my Android phones). You can now start installing apps using the Google Play web interface (from your computer), but bear in mind that many apps won’t be compatible with the Nook‘s old version of Android.
At this stage, I completely wiped the SD card, removing all existing partitions, using Parted Magic.
Apps to install
Since the Nook is running Android 2.1 that’s a significant limitation. All apps to be installed must support 2.1. Also, the Nook
has limited memory, so RAM-hungry apps won’t run at all.
I’d recommend the following apps:
- The current version of Opera Mobile seems to be about the best web browser for the Nook
- For reading comics and certain magazines, Perfect Viewer is great. The last version to support Android 2.1 was 1.9.2.2. You can download that direct to your Nook
- If you install the Perfect Viewer PDF Plugin, you can also read PDFs, with full zoom control. The current version of the plugin (1.1.2) is compatible with the Nook
- Version 2.1.0 of Aldiko Standard is compatible with the Nook
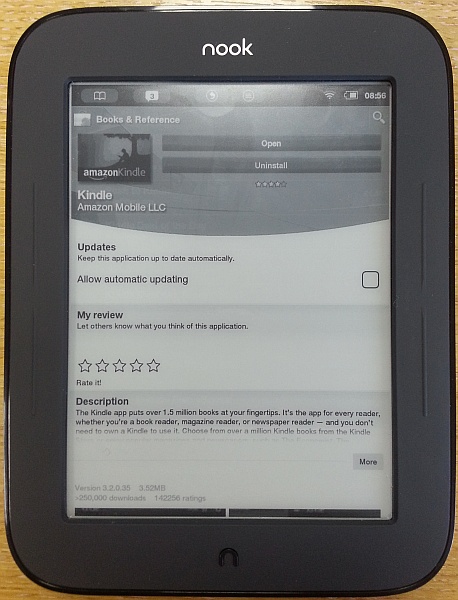
- To give you access to Amazon’s catalogue, install the Android Kindle app. You can install the current version via the. Oh, and yes: ha ha ha.
- Dropbox seems to me to be of slightly limited usefulness, except maybe for conveniently transferring the odd file to the device, but you can install the current version via the web if you’re so inclined.
- The current version of Fora Dictionary works well. You’ll probably want to install one of the dictionary packages too.
Conclusion
There you have it. At no extra cost (except a bit of time), you’ve flung wide open the capabilities of your eReader. As long as you continue to bear in mind the limitations (and advantages) of e-ink technology, you can’t fail to be impressed by this fantastic device.
