How-to: Raspberry Pi tutorial part 2: SD card backup/restore

[easyreview title=”Complexity rating” icon=”geek” cat1title=”Level of experience required, to follow this how-to.” cat1detail=”This is wizard-driven. Very simple. You’ll need to be able to burn a CD, nothing more taxing than that.” cat1rating=”1″ overall=”false”]

Contents

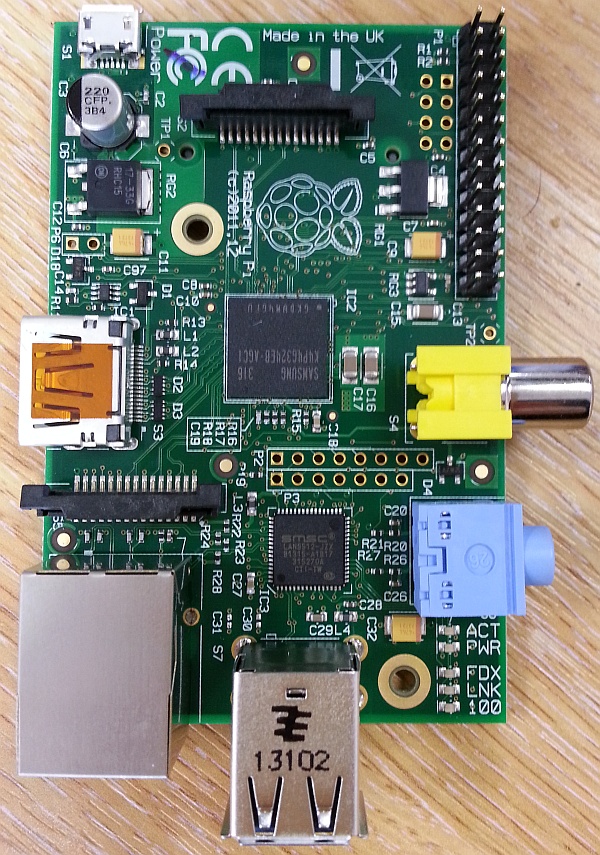
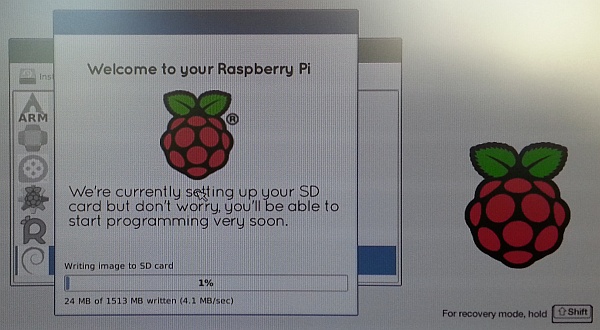
In my last Raspberry Pi tutorial (the first in this series), I mentioned that we can take a snapshot of the Raspberry Pi’s SD card at any time. This will give us a “restore point”, so we can skip a few installation steps if we want to wipe the Pi and start again. Quite a few Raspberry Pi projects will require that we start with a working installation of Raspbian so that’s the snapshot I’m going to take. You can of course take a snapshot whenever you like. If you’ve honed and polished your Rasbmc box, it would make sense to take a snapshot in case it becomes horribly corrupted at some point or melts.

There are many different ways of skinning this cat (or squashing this ‘berry), but my preferred method is the tried and tested customised Linux distribution, Clonezilla. I’ve been using CloneZilla personally and professionally for years and persuaded many colleagues of its merits (besides the obvious, that it’s free). It can be a bit intimidating with all the options it presents. If this is your first experience of CloneZilla, following this tutorial will also give you a gentle introduction to this powerful toolkit.

What you’ll need

  • A copy of Clonezilla, burned to disc.
  • A computer (desktop or laptop) configured to boot from CD.
  • An external hard drive, with enough space to store the image (you’ll only need a few gigabytes spare).
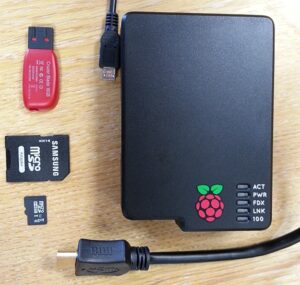
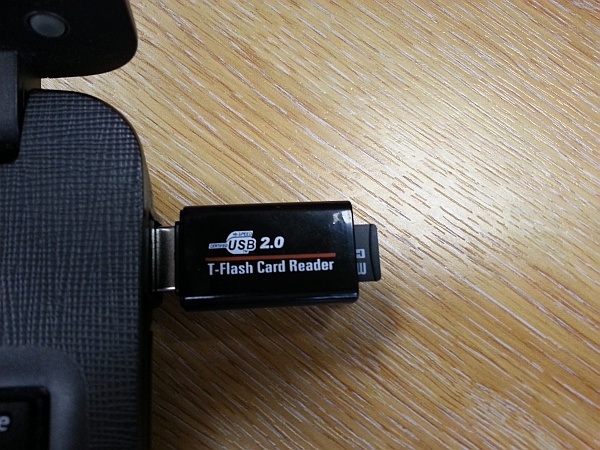
  • A USB reader for your SD card. You can buy one here.

Some of your Clonezilla kit

Take a snapshot

  1. Power down your Pi, with the command
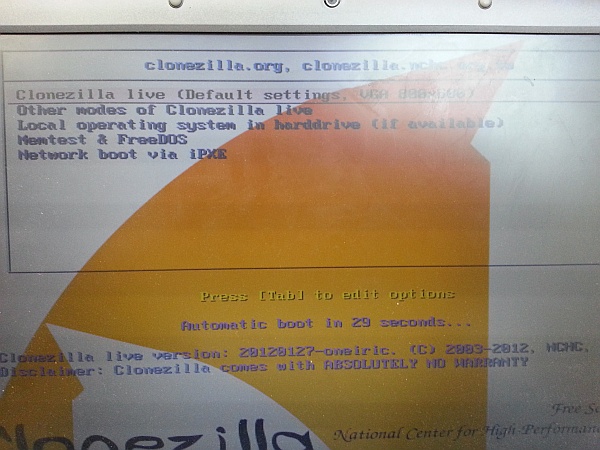
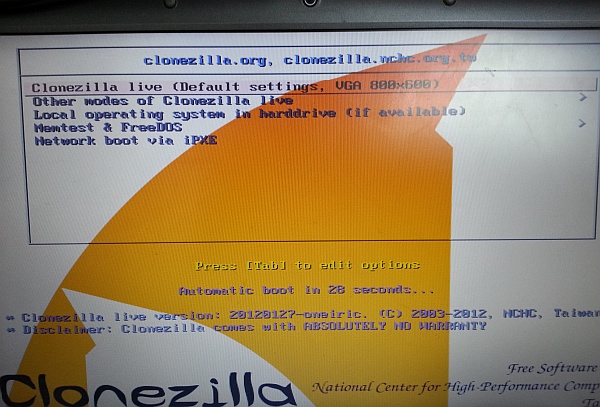
 halt, shutdown or poweroff.
  2. Boot your PC from the Clonezilla disc. You will arrive at a simple menu/boot screen. It will boot automatically within 30 seconds – you can hit enter at any time, to proceed.
    Snapshot step 01
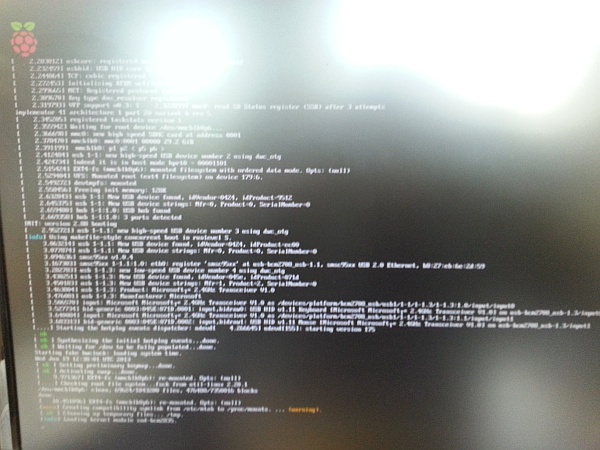
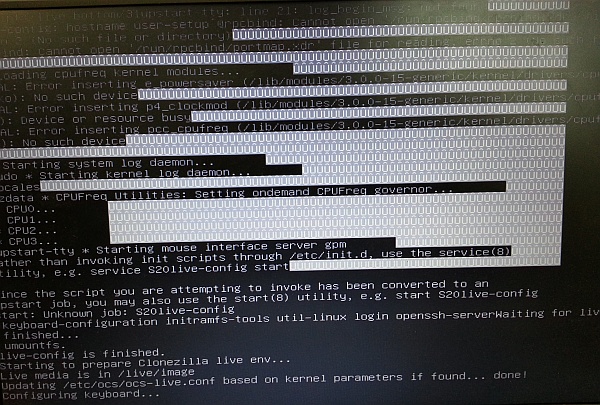
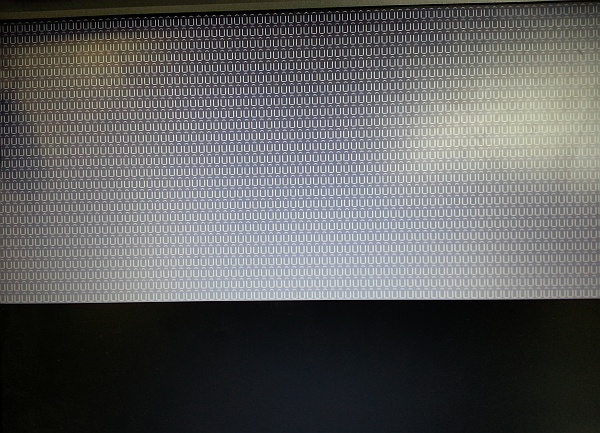
  3. You’ll be treated to rows and rows of gibberish while Clonezilla boots up.
    Snapshot step 02
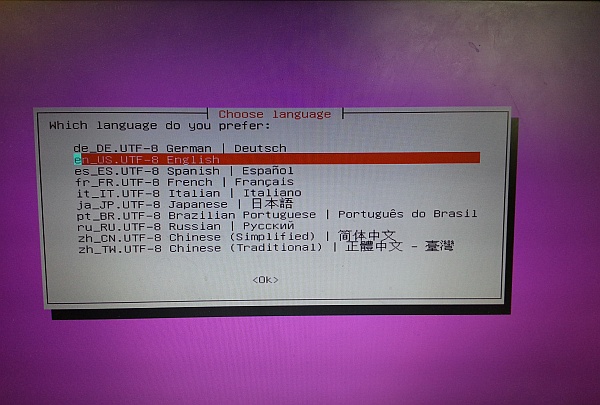
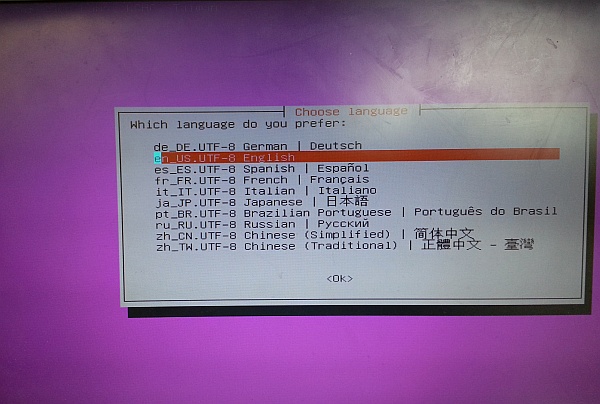
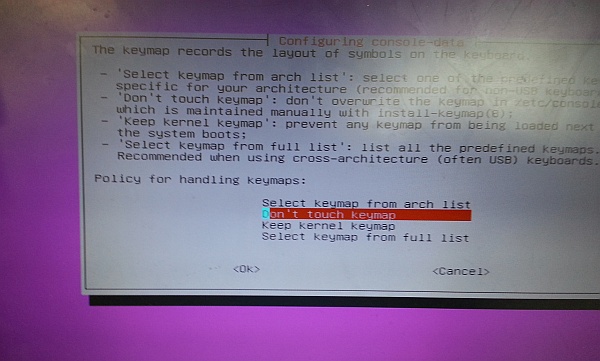
  4. Choose your language and keyboard setting.
    Snapshot step 03
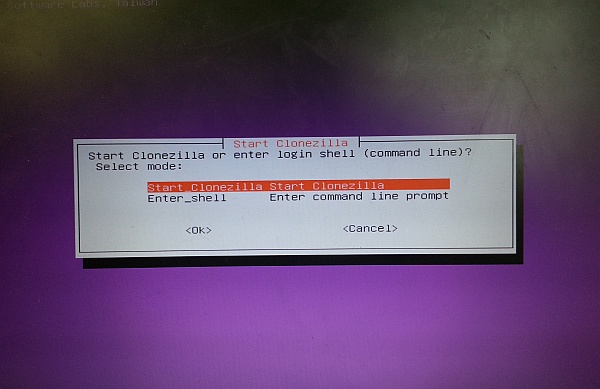
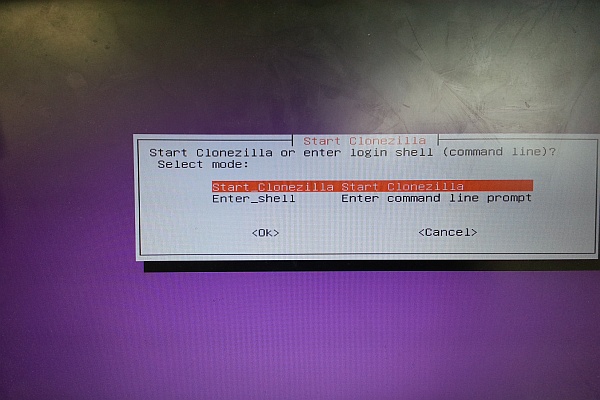
  5. Hit enter to start Clonezilla (yeah, you thought it had already started, didn’t you).
    Snapshot step 04
  6. Insert your Raspberry Pi’s card, in its reader.
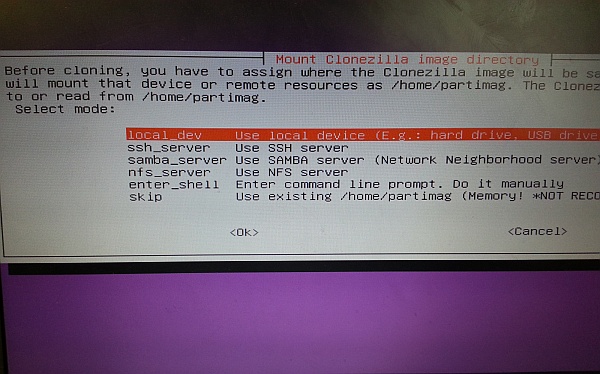
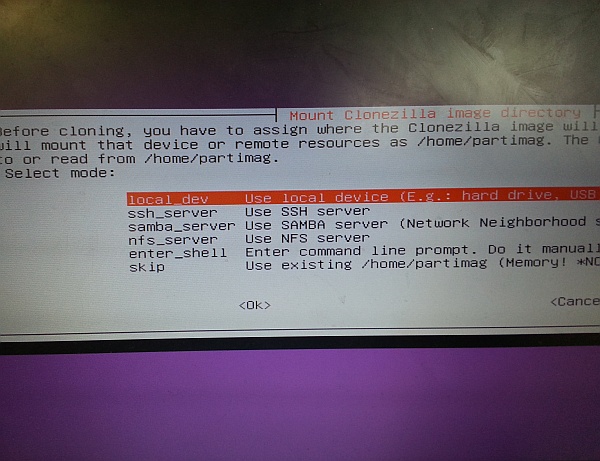
    Snapshot step 05
  7. Choose “local_dev”.
    Snapshot step 06
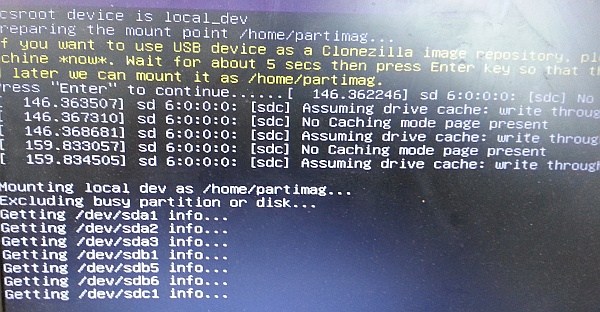
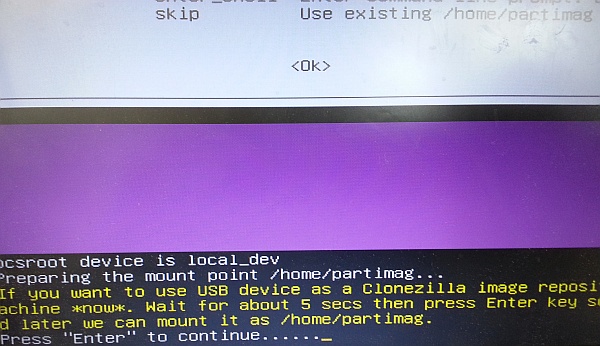
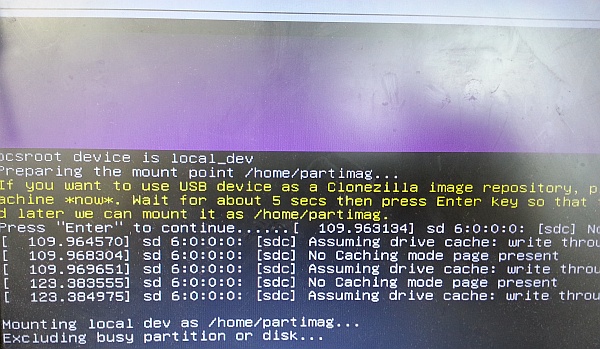
  8. A screen prompt will tell you to insert your external hard drive.
    Snapshot step 07
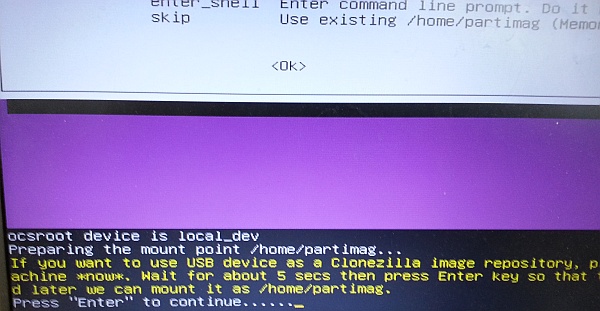
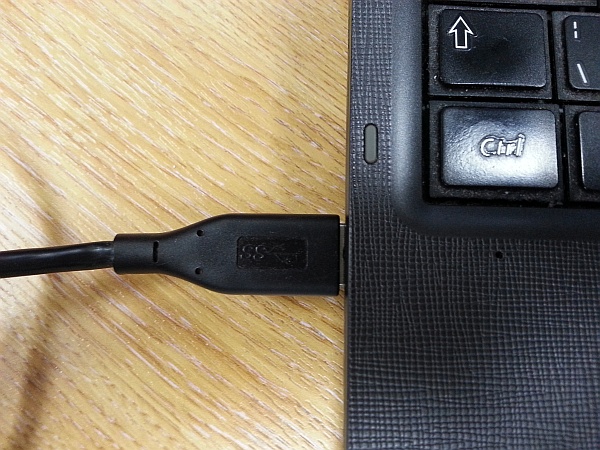
  9. Insert the external drive and then wait for 5 seconds or so.
    Snapshot step 08
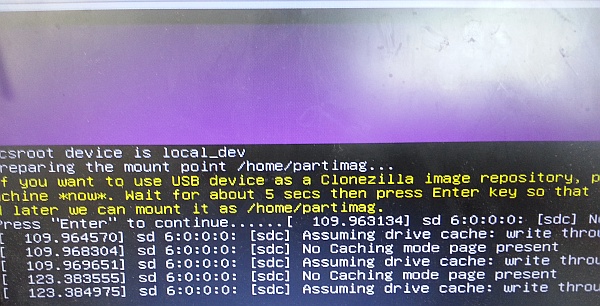
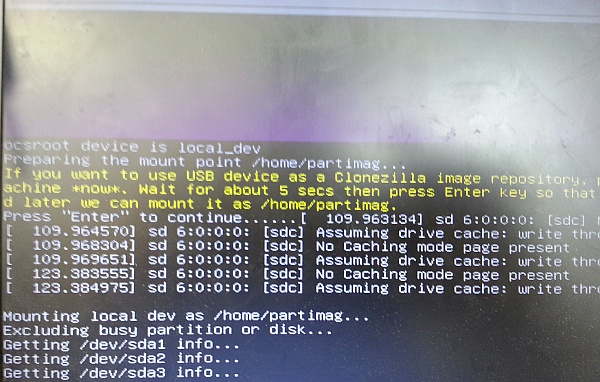
  10. A few lines will indicate that Clonezilla has registered the presence of the drive.
    Snapshot step 09
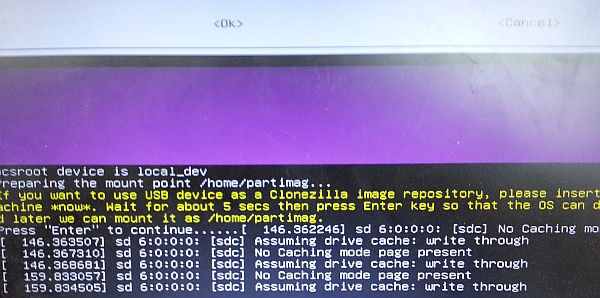
  11. Hit enter and Clonezilla will mount the various partitions now available to it.
    Snapshot step 10
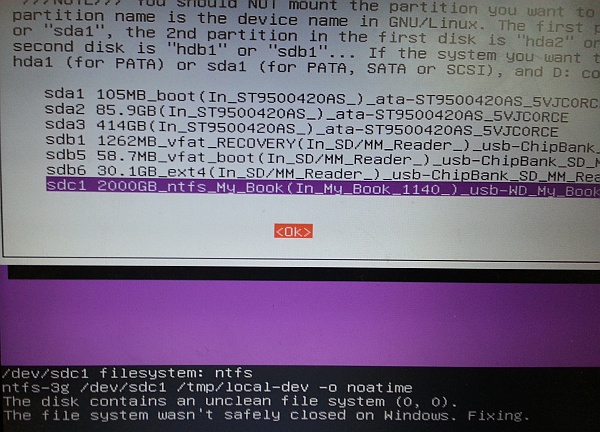
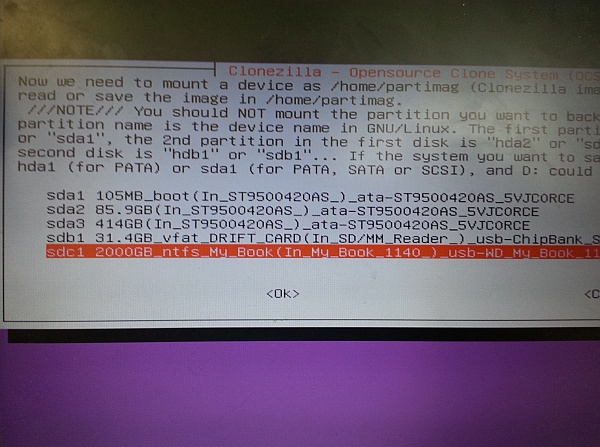
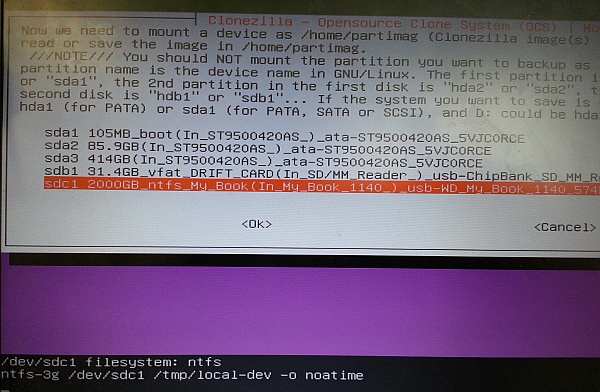
  12. Select the external hard drive as the drive to which we’re copying the snapshot (in my case, the largest partition on the list).
    Snapshot step 11
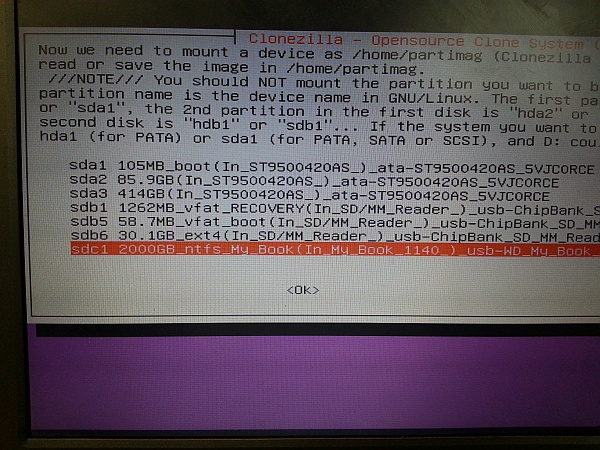
  13. Hit enter. If the drive wasn’t cleanly dismounted before (oopsie), Clonezilla will check and fix as required.
    Snapshot step 12
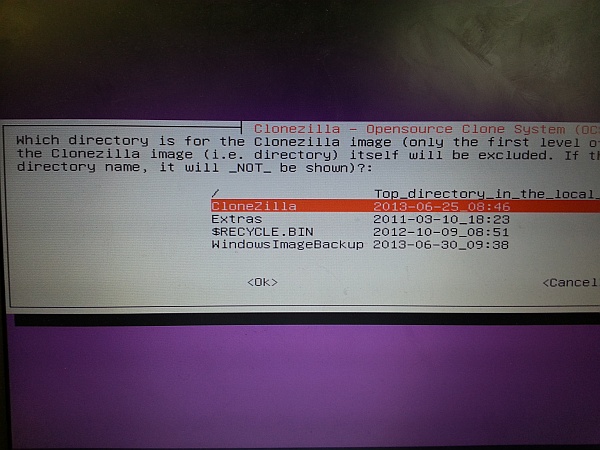
  14. Choose a directory to store the SD card image and hit enter.
    Snapshot step 13
  15. Clonezilla will spit some more gibberish at you. Ignore it and hit enter.
    Snapshot step 14
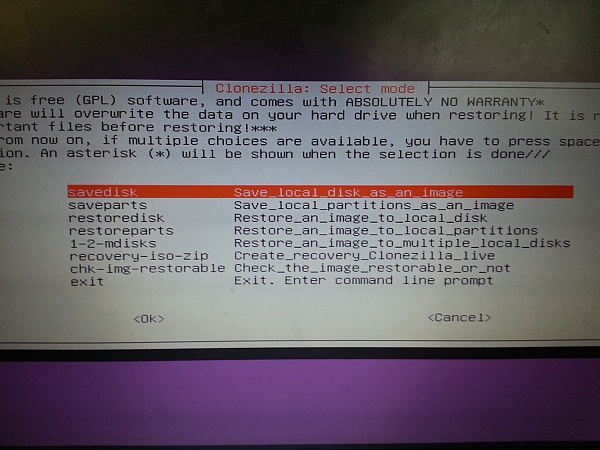
  16. Though it makes me feel a little silly, choose Beginner mode.
    Snapshot step 15
  17. Choose “savedisk”.
    Snapshot step 16
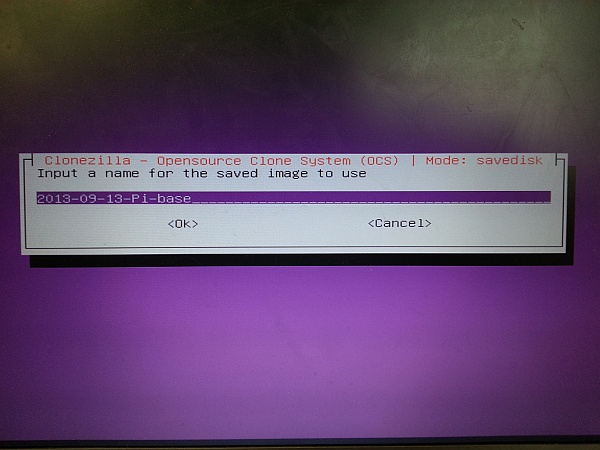
  18. Give your disk image a meaningful name.
    Snapshot step 17
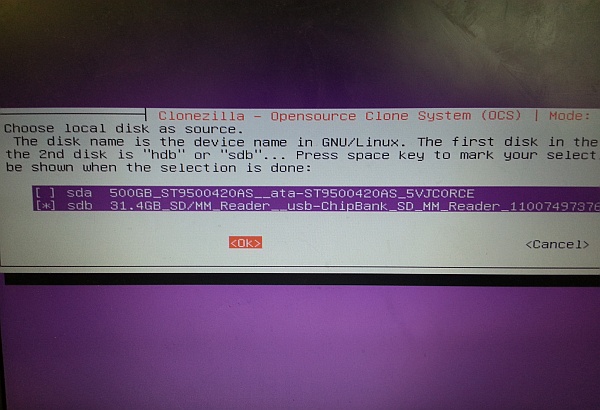
  19. Select the SD card, to save the image. You use cursor keys and the space bar here.
    Snapshot step 18
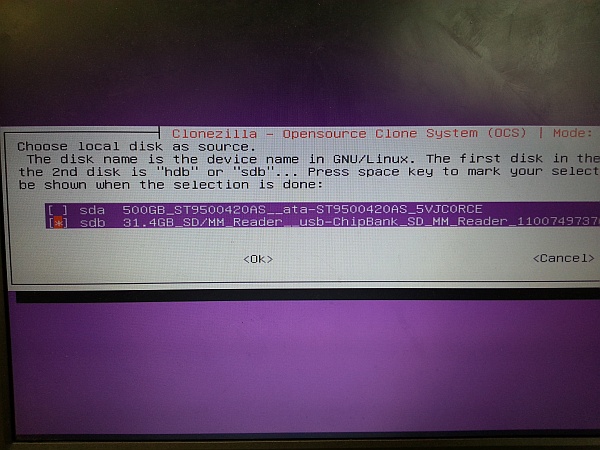
  20. Select Ok to continue.
    Snapshot step 19
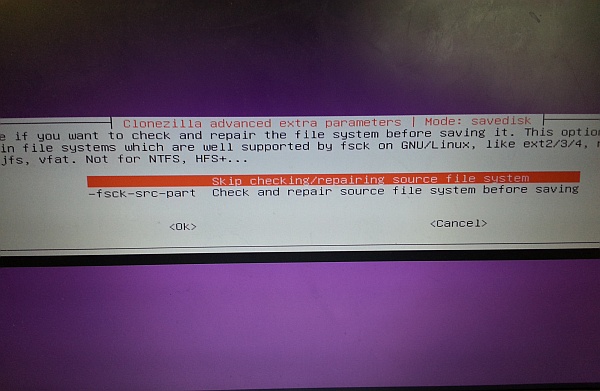
  21. If you’re confident your SD card is in good shape, you can skip checking it.
    Snapshot step 20
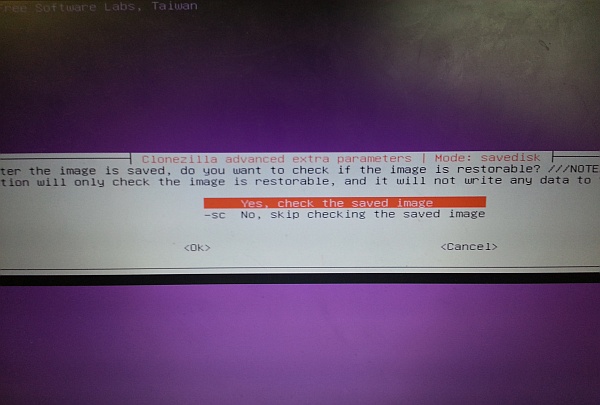
  22. I’d recommend checking the saved image though. It doesn’t take long and gives you peace of mind that you should be able to restore from this image.
    Snapshot step 21
  23. Clonezilla will helpfully point out that you can do all this from the command line (yeah, right).
    Snapshot step 22
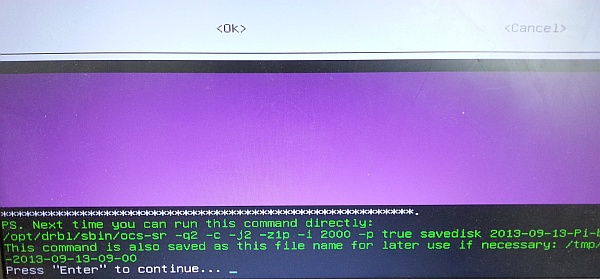
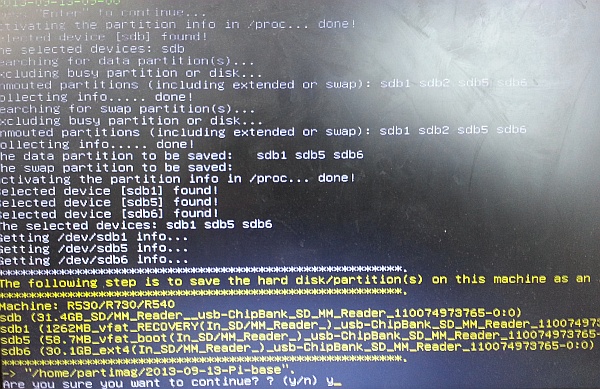
  24. Press Y and enter to continue.
    Snapshot step 23
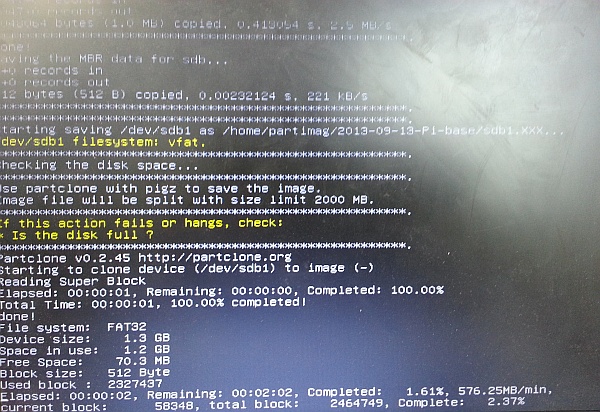
  25. Shouldn’t take too long.
    Snapshot step 24
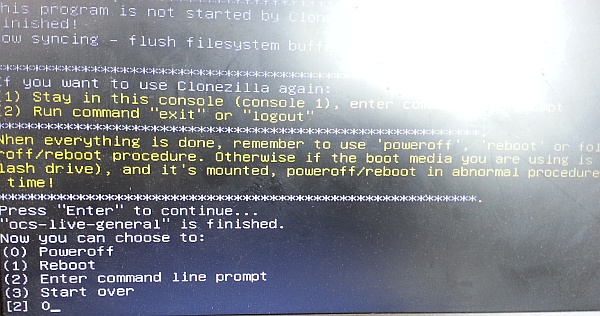
  26. When it’s all done, it’ll report progress. Press enter.
    Snapshot step 25
  27. Enter 0 to power off (or whatever you prefer) followed by enter.
    Snapshot step 26
  28. Clonezilla will eject the disc. Hit enter to carry on.
    Snapshot step 27

You should now have an image (consisting of several files) on your external hard drive, which you can later use for restoration. Job done.

Restore a snapshot

In this scenario, we’re starting with everything powered off, ready to begin.

  1. Boot your PC from the Clonezilla disc. You will arrive at a simple menu/boot screen. It will boot automatically within 30 seconds – you can hit enter at any time, to proceed.
    Restore step 01
  2. I’ve got to say, this screen full of strange foreign characters is pretty unnerving. But don’t worry. It’ll pass.
    Restore step 02
  3. Choose your language.
    Restore step 03
  4. I’ve never found I’ve had keyboard problems, even though I use a UK keyboard…
    Restore step 04
  5. Hit enter to begin.
    Restore step 05
  6. Insert the SD card/reader. Some nonsense will appear on screen. Don’t worry – just hit enter.
    Restore step 06
  7. Select “local_dev” and hit enter.
    Restore step 07
  8. Insert your external hard drive and wait 5 seconds or so for it to be recognised.
    Restore step 08
  9. It’ll detect the drive – hit enter.
    Restore step 09
  10. Next, it will mount your various partitions.
    Restore step 10
  11. You may have a few…
    Restore step 11
  12. Choose the external drive from the list then hit enter.
    Restore step 12
  13. Clonezilla will check the drive.
    Restore step 13
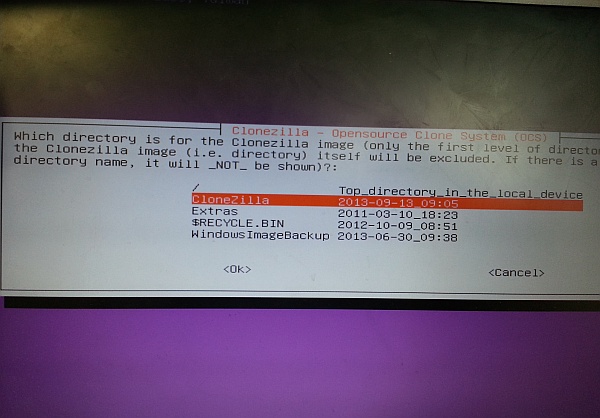
  14. Choose the directory where your saved image is stored and hit enter.
    Restore step 14
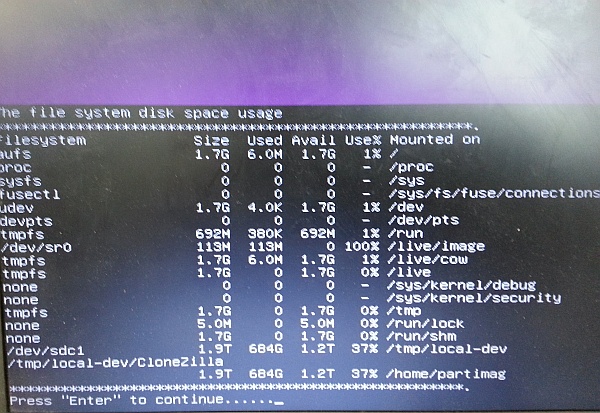
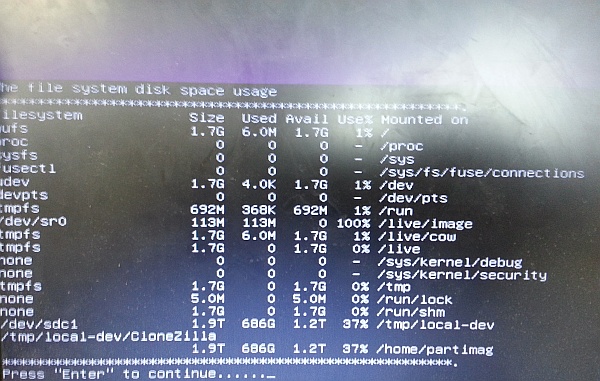
  15. Clonezilla will give you an overview of its file systems. You will be thrilled. Hit enter.
    Restore step 15
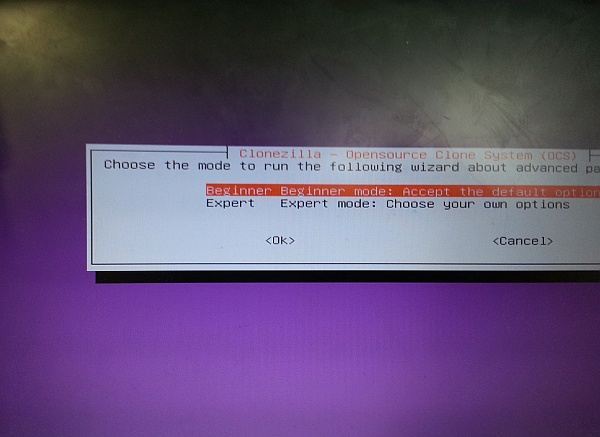
  16. Choose “Beginner”, no matter how patronised you may feel.
    Restore step 16
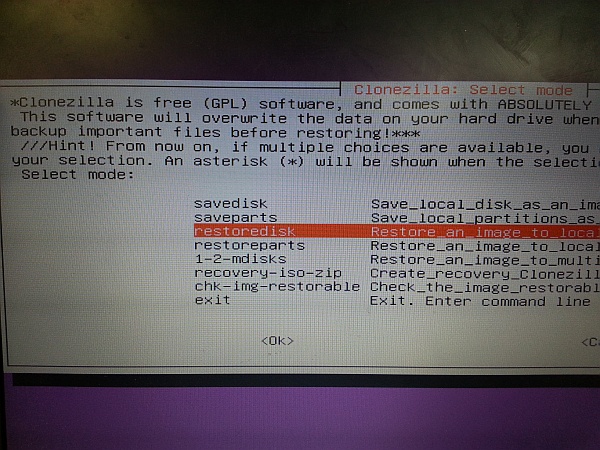
  17. Choose “restoredisk”.
    Restore step 17
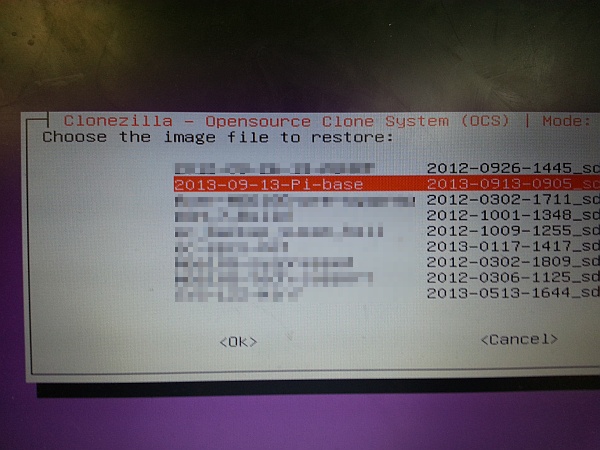
  18. Select the previously saved image.
    Restore step 18
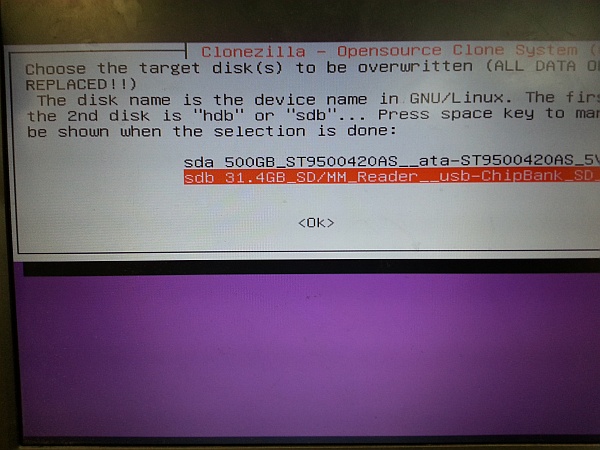
  19. Choose the SD card. Hit enter.
    Restore step 19
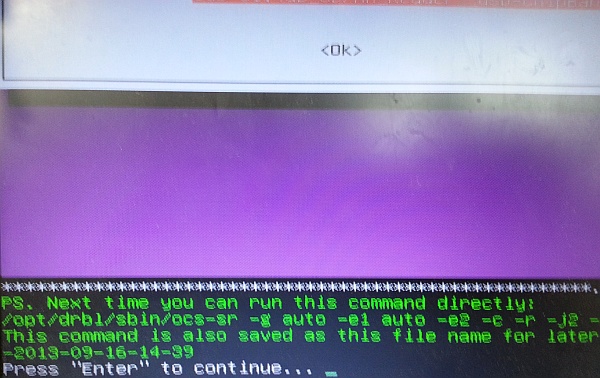
  20. Clonezilla reckons you really want to do this at the command line. Hit enter.
    Restore step 20
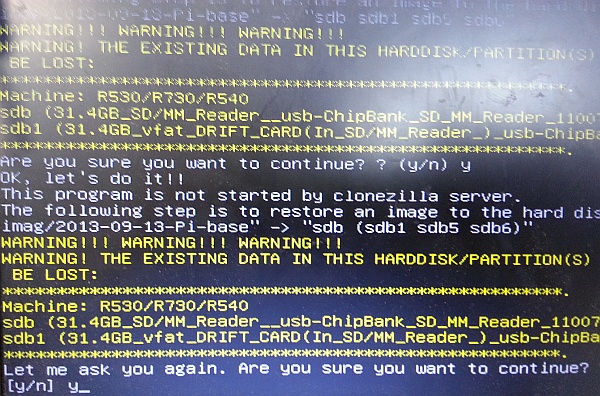
  21. This is a destructive operation and will wipe your SD card. Press Y then enter.
    Restore step 21
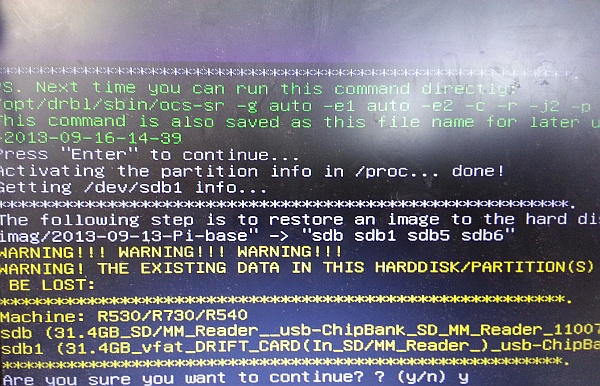
  22. Clonezilla doesn’t trust your judgment. Hit Y and enter again.
    Restore step 22
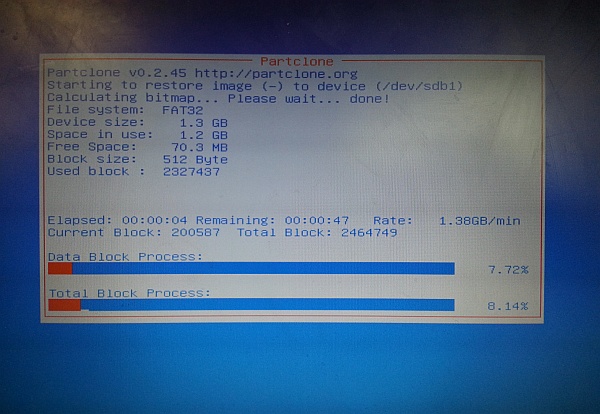
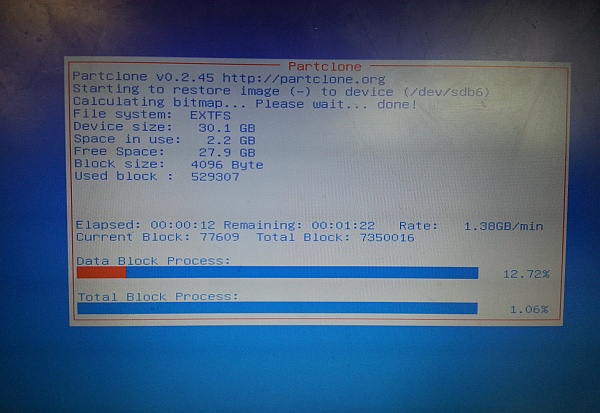
  23. There are two partitions to restore to this card. You’ll get a progress report for each restoration.
    Restore step 23
    Restore step 24
  24. Clonezilla will let you know once it’s done.
    Restore step 25
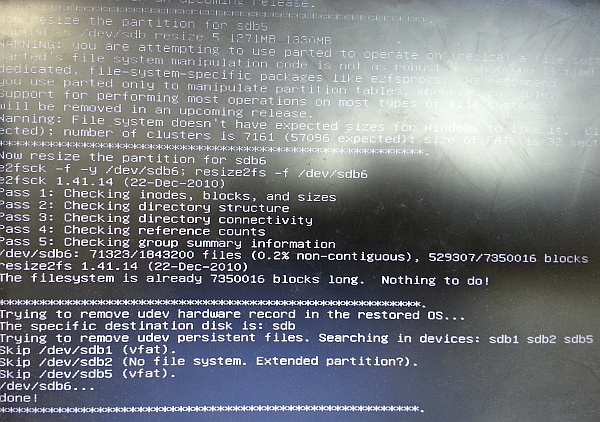
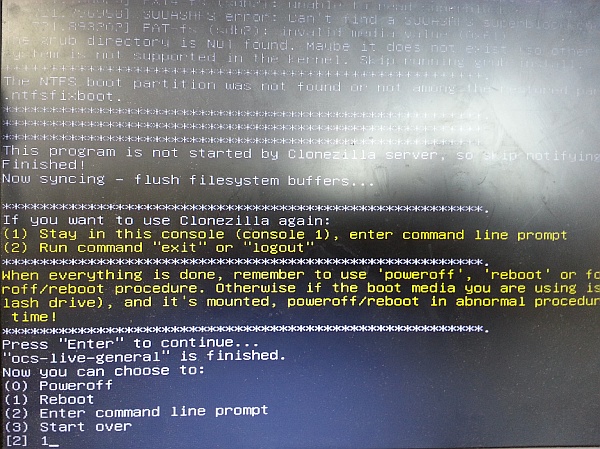
  25. Press enter to continue.
    Restore step 26
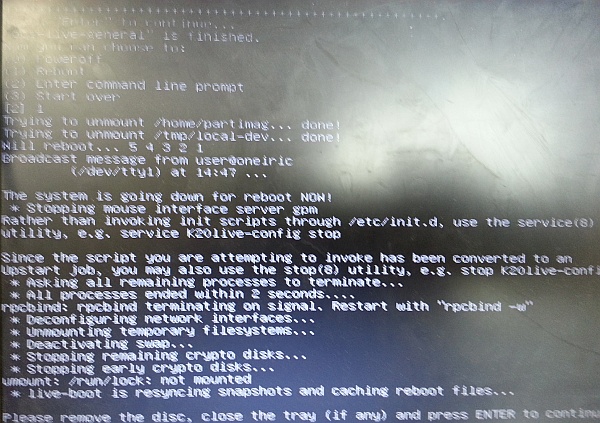
  26. Choose 1 to reboot (or whatever you prefer) then hit enter.
    Restore step 27
  27. Once the CD is ejected, you can also disconnect the SD card and hard drive. Hit enter.
    Restore step 28
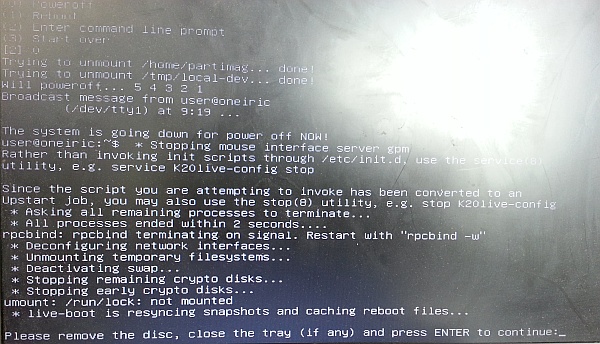
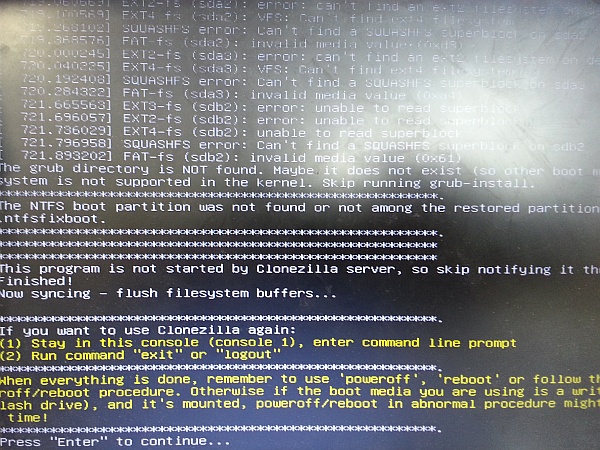
  28. Witness the majesty of the Linux death rattle.
    Restore step 29

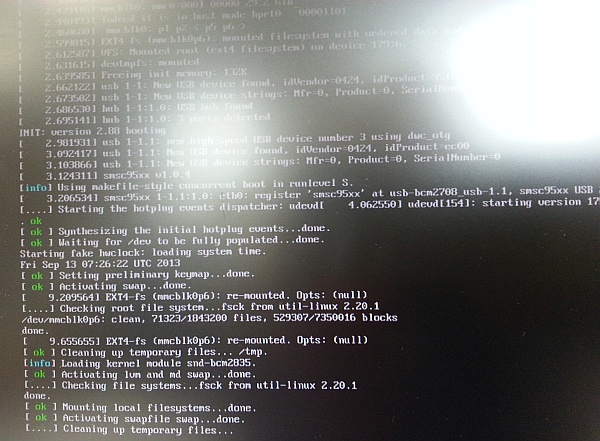
If all went well, you can now install this SD card back in your Pi, boot up and continue.

How-to: Raspberry Pi tutorial part 1: Getting started

[easyreview title=”Complexity rating” icon=”geek” cat1title=”Level of experience required, to follow this how-to.” cat1detail=”The geek factor is quite high here, but this process is not particularly taxing.” cat1rating=”2.5″ overall=”false”]

Contents

In the line of my work, I’ve recently had cause to become better acquainted with every geek’s favourite cheap computer, the Raspberry Pi. At the time of writing, you can pick up a Pi for an extremely reasonable £30, but the first thing I discovered was that this is only half the story. For a workable system, you need all the necessary cables, some storage and a case. Here’s my shopping list:

The Pi plus extra bits, in all their glory

So my total is £69.95 – over twice the price of buying just the Pi. But still pretty cheap, considering. You’ll also need a USB mouse/keyboard for initial input. I’m going to run my Pi headless (no screen or input devices needed, just a network connection), so I’m borrowing my Microsoft Natural wireless desktop for this purpose, which the Pi detected without issue.

Hardware installation

This may well be the easiest hardware installation you ever perform. The case has a couple of punch outs that you need to remove for the model B Pi. I forgot to photograph them I’m afraid, but it will be obvious – when you try and put the Pi in the case, it won’t fit without these pieces removed (e.g. for the ethernet port).

Pi and case

Put the Pi in the case.

Pi case installation

Put the case together and fasten the screws. Make sure you put the VESA mount between the screws and the case, if you’re going to monitor-mount the Pi.

Pi case and VESA mount

That’s it.

What to do, what to do…

There are lots of potential uses for your Pi. It has limited processing power and memory but apart from that, the only real limit is your imagination. I have no imagination to speak of, so I’m going to do what I do with every other gadget: put Linux on it and set it up as a home web/file server. I’ll cover the web/file server setup in a subsequent tutorial.

Here’s the plan:

  • Install Rasbian (a Pi-centric version of the venerable Debian GNU/Linux distribution).
  • Set up Webmin/Virtualmin for management of the server/web sites.
  • Install OwnCloud and create my own Dropbox replacement.
  • Experiment with using the Pi as a remote desktop client or thin/fat terminal.

In the process, I’m looking for any major issues or gotchas – things you might want to be aware of if you’re thinking of getting into Pis in a big way.

Prepare the SD card

For this step, you’ll need an SD card reader. If you don’t have a laptop/computer with a built-in reader, you can buy an external reader here. Note: my laptop’s built-in card reader was not supported by the SD Formatter program (see below) so I used an external reader.

  1. From the SD Association’s official website, download and install the SD Formatter.
  2. Format the SD card using SD Formatter:
    SD Formatter
  3. Download NOOBS (“New Out of Box Software” – chortle) from the official Raspberry Pi website. This file is currently over 1GB. I tried the direct download and it was pretty slow, so I’d recommend using the torrent if you’re so equipped. NOOBS gives us a choice of different operating systems to install on the Pi.
    NOOBS
  4. Extract the contents of the NOOBS zip file onto the newly formatted SD card.
    NOOBS files

Whack the SD card into the Pi and connect everything up (power last of all, since there’s no power switch). If at this point you don’t see any output, the chances are that your SD card has not been recognised. I’m using a Class 10, but I’ve read that some people have had problems with Class 10 cards and better results with Class 6. If your card is recognised, you should be rewarded with a few pretty lights when powered up.

Pi plumbed in

Install and configure Raspbian

At the NOOBS screen, choose Rasbian and click Install OS, then Yes. Go grab yourself a quick coffee.

Raspbian installation

The install will take a few minutes (the speed of your SD card is a factor here). Once it’s done, you’ll see a message “Image applied successfully”. Click Okay to reboot the Pi with your new OS.

Raspbian installation progress

raspi-config will launch with some initial setup options. I’ll work through them one by one.

raspi-config

  1. Expand the filesystem: You can skip this, because this option isn’t needed for NOOBS-based installations. Otherwise, this ensures you’re using the whole of the SD card.
  2. Change the password for the “pi” user. The default password is “raspberry”. Improve on that.
  3. Enable/disable boot to desktop: I’m not planning to use a desktop system with this Pi. X Windows is such a resource hog that we definitely want to set this to “No”. Of course if you want to use the Pi as a desktop system, you’ll select “Yes” here.
  4. Internationalization options: I’m in the UK, with a UK keyboard layout. It’s not a huge problem since generally I’ll be accessing the Pi via a web interface or service, but I am fussy, so I set everything up to be UK-centric. My correct locale was already selected. In these dialogue boxes, use the spacebar to select/deselect options, tab to move between fields, up and down cursors keys to navigate and enter to select.
  5. Enable camera: do this if you’ve bought the optional camera module (I haven’t).
  6. Add to Rastrack: this puts you on the Rastrack map of Pi installations. Not for me, but you might be interested.
  7. Overclock: if you need to squeeze more juice out of your Raspberry, you can force it into a more frantic mode of operation. I’m not going to do this, at this stage.
  8. Advanced options: Here, I’m going to set the hostname of the Pi and reduce the Pi’s use of GPU memory to 16MB (since we’re not running a graphical desktop). I’m also going to ensure that SSH is enabled (for later remote logon purposes).
  9. Finish and reboot to an ordinary logon prompt.
  10. For demo/proof of concept servers where security is less of a concern, I like to be able to log on as root. You can give the root user a password by logging in, then entering sudo passwd root and following the prompts.

Configure networking

I need this Pi to have a static IP address. You can use a DHCP reservation for this purpose if you like, but I prefer to create a fixed IP address on boot. Like this:

  1. Log in.
  2. If you didn’t log on as root, give yourself an elevated shell: sudo su
  3. Install your favourite console-based text editor. For me this is vim: apt-get --force-yes -y install vim
  4. Use the editor to edit the /etc/network/interfaces file. Replace the line iface eth0 inet dhcp with iface eth0 inet static
    address 192.168.1.11
    netmask 255.255.255.0
    gateway 192.168.1.1

    adjusting the values to match your network as appropriate.
  5. My DNS was already correctly configured, but you may need to check the contents of your /etc/resolv.conf file to ensure DNS is set up. If in doubt, this configuration should work:
    nameserver 8.8.8.8
  6. Save the files then back at the command prompt, enter reboot to restart the Pi with the new network configuration.
Typical Raspbian bootup messages

Once the Pi is up and running you’ll be able to connect via SSH using your favourite terminal emulation program (mine’s PuTTY).

As you’ll see from the Contents section above, I have a few ideas for things to do next. It’s a good plan to take a snapshot of the Pi in its current state, so we can hit the ground running any time we want to try something different, with a Raspbian base, so this will be the subject of my next how-to. In the meantime, if you have any questions about what we’ve done so far, or if you have any ideas for later tutorials, let us know in the comments!

Until next time. 🙂