
 Unless you’ve been living in a cave for the last five years, you’ll have heard of cloud sync poster child Dropbox. Dropbox has many flaws, but its great strength is how simple it is to use (my most inept users can manage it).
When you read elsewhere about the weaknesses of Dropbox, privacy seems to be the big one. Your files are stored “in the cloud”. This doesn’t particularly trouble me. Yes, Dropbox has my stuff, but the chances are that Dropbox’s security measures are better than my own. Between my laptop being hacked/stolen and Dropbox being hacked(/stolen?!), my money’s on my laptop. (I use TrueCrypt to encrypt my laptop’s hard drive, as you should by the way, but that’s a different story.) Anyway, any squeamishness we have about cloud storage is likely to die away in the near future, when it’s no longer quite so new and scary.
Of course there are lots of companies on the cloud storage bandwagon, big names and small. There are Google Drive, Microsoft SkyDrive, CrashPlan, Mozy and so on. Typical features include:
- Mobile apps
- Entry-level free option
- File version revision/undelete
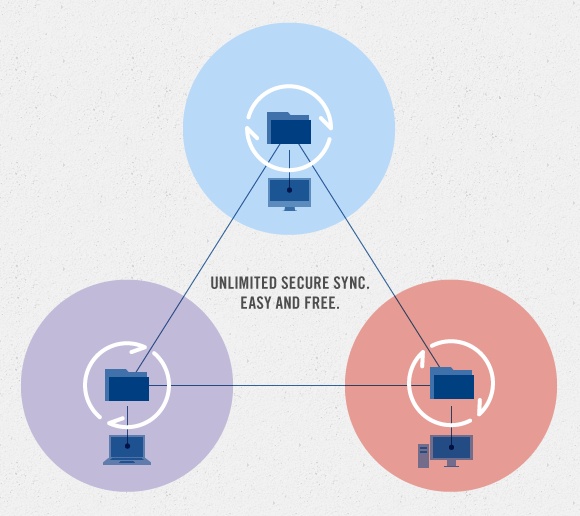
This is different. From the company that brings you the controversial peer-to-peer file sharing system and the popular BitTorrent client, µTorrent, comes a new “cloud-less” file sync technology, BitTorrent Sync. The principle of BitTorrent sync is that you use the efficient BitTorrent protocol to distribute your own files privately amongst approved devices.
This year, BT Sync has been in private “alpha” (software in heavy testing, likely to contain bugs, which may be serious). Last week, the public alpha was released. It’s currently available for Windows, Mac and Linux.
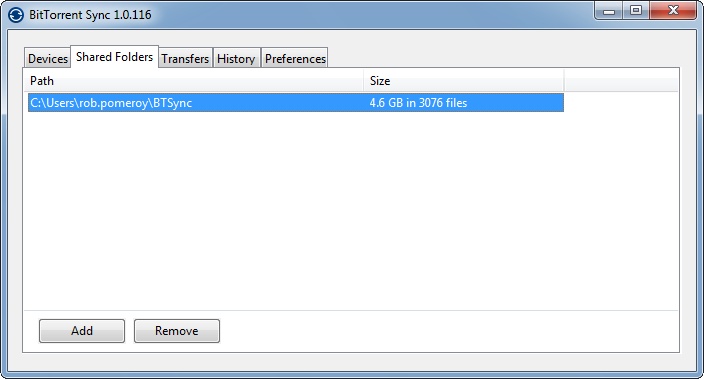
The Windows interface is pretty minimal at the moment:

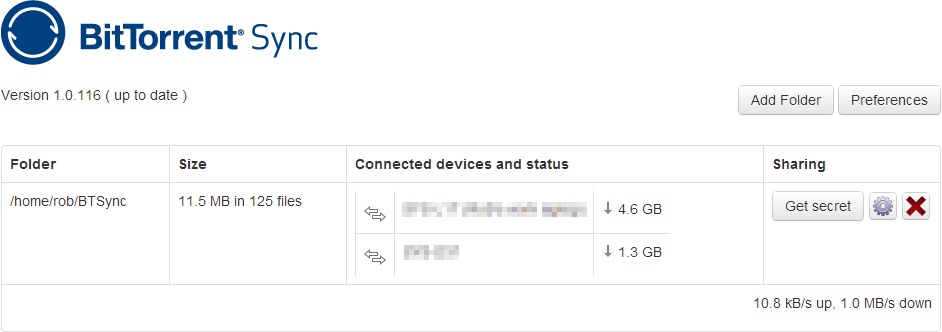
The web interface for the Linux version is more polished:

During the private alpha stage, I tried syncing between a Windows 7 laptop and a Linux server. Shortly after this, the server suffered a catastrophic disk failure. Coincidence? Not entirely, I suspect. There may be some low-level disk calls that overtaxed drives that were already heading towards the end of their life. Nevertheless, it’s a reminder: this is alpha (experimental) software; be careful.
BT Sync has quite a few limitations:
- It’s still in alpha state, which means it is liable to eat your data, your hard drive and your children’s pet rabbit.
- There are no mobile applications yet.
- No progress indicators within Windows, just an irritating balloon tip.
- Since there is no central cloud, the devices must be online simultaneously, to perform sync.
- For the same reason, you can’t download files via the web.
- Other than creating a folder specifically for the purpose, there’s no option to “share” a single file.
- No versioning – no backup or undelete facility outside any provided by your operating system.
Despite all this, there are some pretty compelling reasons for using it:
- There are absolutely no limits. Unlimited file size, unlimited storage, unlimited bandwidth, etc. Of course you will still be limited by other factors – the size of your hard drive and the amount of monthly bandwidth you’re allocated by your ISP.
- Efficiency. This is not the place to discuss BitTorrent generally, but the more people sharing the files, the better. All connected devices, while online, can participate in the synchronisation process.
- Privacy. No third party holds your data. Central systems facilitate the peer-to-peer connection, but do not take their own copies of files.
- Security. The data is encrypted before transmission and only accessible using a “shared secret”.
BitTorrent Sync has an ace up its sleeve. It can be installed on several different NAS boxes, from the likes of Synology, QNAP, Iomega, etc. This is where I can see BT Sync excelling. Want an entirely private, shared data store for remote office workers, but don’t want to invest in high-end storage systems? Give them all a NAS box with BT Sync installed. Want to set up off-site backup for your files at home? Enter into a reciprocal arrangement with a friend, using NAS boxes, where you host each other’s backup files. Want to set up a sprawling hydra-like network of anarchic file storage for your clandestine underground organisation? You get the idea…
Download
So, having read all my caveats above, you still want to give this a whirl? Go ahead, don your crash helmet and download the sucker.


 I’m storing this as an aide memoire, really, but it may help you too.

 For almost all my previous web design, I’ve used
 As a fan of CodeIgniter, I was very pleased when the
 I’ve used CodeIgniter for many years, but I have always, I confess, proceeded knowing just enough to get by. So forgive me if my approach seems a little clunky. I have never, for example, used CodeIgniter’s routes. I like my web application files nicely categorised into Model, View, Controller, Library and, if absolutely necessary, Helper.
 Talk about obscure.
